Bodycasting

Bodycasting

Bodycasting, also known as life casting is a process used to create a three-dimensional replica of a person’s body or specific body parts. It involves making a mould directly from the subject’s body using various materials such as alginate, silicone, or plaster.

Alginate is a popular choice because it is safe and easy to use. It starts as a powder that is mixed with water to create a viscous substance. Once the alginate sets it creates exact copies of the hand, foot or other body parts. As a casting material Acrylic One (A1) is easy to process, works excellent in combination with alginate, and due to the expansion of the A1 during curing, creates a very detailed copy of the original. A1 can be coloured or painted afterwards to create the desired expression.

Bodycasting has various applications and purposes. It is often used in the fields of art, sculpture, special effects, and medical prosthetics.  Additionally, bodycasting can serve as a unique and sentimental way to preserve a physical representation of one’s body, such as during pregnancy or as a keepsake of a loved one.

1.0 Pour a small amount (about 1/3 of the mould) of A1 slowly into the mould and gently make rotating movements. Let the A1 flow through the shape in all directions to reduce air entrapment. Repeat this two times.

By mixing you can mix air bubbles into the A1 and these will set in the mould during pouring because in some places the air cannot escape from the mould.

The best way to mix A1 is to use a High Shear mixer. There is a small or a large mixer available. Small: up to 1.5 kg or a large mixer for 1.5 kg or more.

First, start stirring the A1 Liquid and gradually add the A1 Powder. Try to mix with as less air bubbles as possible in the A1, by keeping the mixer head skew and under the surface.

Mix untill the A1 mixture is smooth (avoid lumps in the mixture). Stop mixing and carefully remove the mixer from the A1 and mix the A1 with a spatula with a few gentle strokes. 


Pour a small amount (about 1/3 of the mould) of A1 slowly into the mould and gently make rotating movements. Take a good look at where the A1 is going, you may immediately see the larger bubbles rising (for example at the fingers). For small air bubbles you can tap gently against the bucket. The walls will now be nicely covered with a thin layer of A1 and the air can escape along the sides. Pour again 1/3 of A1 and rotate again. Then pour the remaining A1 into the mould. For the best result you may pour all the A1 back into the bucket and you may repeat this two times. 

inspiration

2.0  I want to paint my object. Which paint can I use? 
For indoor use, the A1 object can be finished with acrylic paint, oil paint or lacquer, provided that the adhesion of the paint has been tested beforehand.

If you choose such paint and final lacquer (matt or high gloss), we recommend, in addition to testing, to observe the following points:

– make the object inside,
– dry and cure the object,
– paint the object (drying time on the advice of the paint supplier),
– (if needed) then varnish (drying time on the advice of the supplier),
– do not use the A1 Sealer PLUS.

For outdoor applications, such coating systems can interfere with the breathability of A1, which can lead to flaking of the coating layer

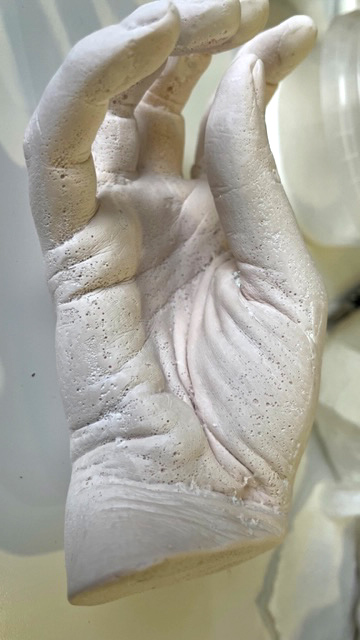
3.0 After demoulding I noticed some lines in my object. What is this?
We call this lines water lines. Water lines in your object can be a sign that you either added too much water to your alginate or your mould has been standing too long and is therefore already releasing its water.

When there is water in your alginate and you pour the A1 in and out you can mix the water with the A1 and pour it back again in the mould. 

4.0 Can I colour the A1?

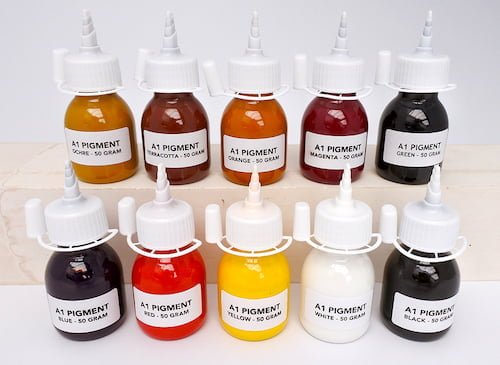
Yes, it is possible to colour the A1. The base colour of A1 is ivory white. If desired, we have A1 suitable pigments in 10 colours with which the A1 can be coloured through and through.

These pigments are highly concentrated and are added up to a maximum of 2% to the A1. Often a lower dose is sufficient to achieve the desired result. 


5.0 Can I paint an A1 object afterwards? 
Yes, it is possible to paint your object afterwards. If your object stays indoors you can use almost every paint available as long as it has good adhesion to the A1 (perform a little test).

For outdoors only use damp-open wall paint. 

6.0 Do I have to use a sealer after I have painted the A1 object? 
Do not use a sealer over the paint systems as you will close the damp openness of the paint.

7.0 What is the drying time, for example a baby hand and foot? 
Altough it looks like A1 will cure within a single day, but the final curing wil take several days. During this process a moisture will be released from the A1 object. The larger the object, the longer this process takes. We maintain a curing time of at least 7 days for small objects. For larger objects it can take even 2 weeks or more. The curing time of A1 also depends on the environment and humidity. Because A1 is a breathable material, it will absorb or release moisture at all times. For objects that will be placed outdoors we advise a damp open paint/coating/sealer system.

8.0 What is the difference between A1 and porcelain gypsum? 
We are often asked what the difference is between A1 and porcelain gypsum. That’s why we have done some testing to experience the similarities and differences between A1 and porcelain gypsum when used as casting material for bodycasting.

The first obvious difference is that we are using our A1 Liquid for the mixing of the powder compared to water for the porcelain gypsum. This is reflected in the price as the porcelain gypsum is cheaper per kg.

The mixing of both materials is easy. Both can be mixed by hand or with an electric tool resulting in relatively few air bubbles compared to other materials. The A1 feels like having a little higher viscosity.

The working time differs, where the porcelain gypsum starts to cure after approx. 6 minutes, the A1 has a working time of approx. 20 minutes. This can be retarded or accelerated if needed bij using the A1 additives.

The casting with both materials is very easy, because of the viscosity. As such both materials will find all the details in your mould. Because of the longer working time the A1 gives you a better opportunity to remove as much air entrapments as possible. See our video for how to cast your mould with A1.

The demoulding time is between 30 minutes for porcelain gypsum and 60 minutes for A1.  You will notice very little air bubbles with both materials. Although the A1 can be demoulded after 60 minutes, some careful handling is suggested as the A1 will continue to cure for a few days. Directly after demoulding is also the best time to work on your casting, like removing bumps created by the air bubbels in your alginate, as the A1 will still be soft
enough to scrap.

The hardness, shore of both materials is comparable where Porcelain gypsum has a shore of 90 and A1 a shore of 80. 

The base colour of A1 (ivory white) and porcelain gypsum (white) are comparable. A range of colours is available for the A1 to pigment your casting into a based colour. This makes colouring your casting afterwards easier.

A1 can be laminated with our A1 Triaxial fibre which makes A1 perfectly suited for creating lightweight and very strong torso castings

Even if working as net as possible no bodycasting will be perfect directly after demoulding. Some finishing is always necessary. We noticed that the working time of A1 in combination with the viscosity, which can be adapted, makes it even possible to recreate details like fingernails. Mixing small batches, adding layer on top of other layers, sanding, and cutting all is possible with A1 which we noticed as an advantage of porcelain gypsum.

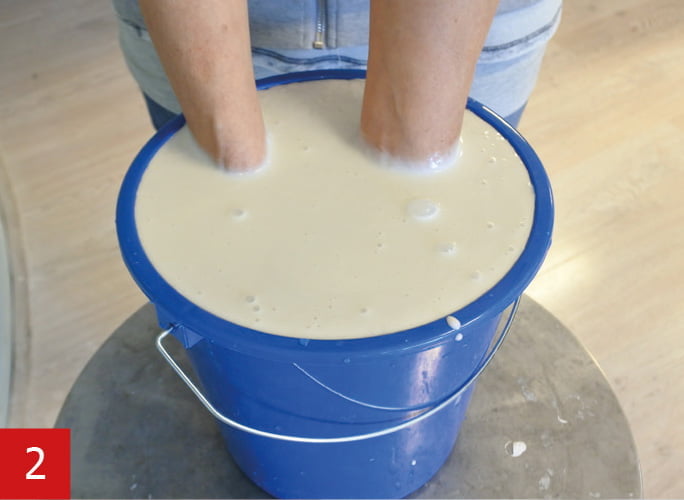
9.0 There is a milky white substance in my A1. What’s this?

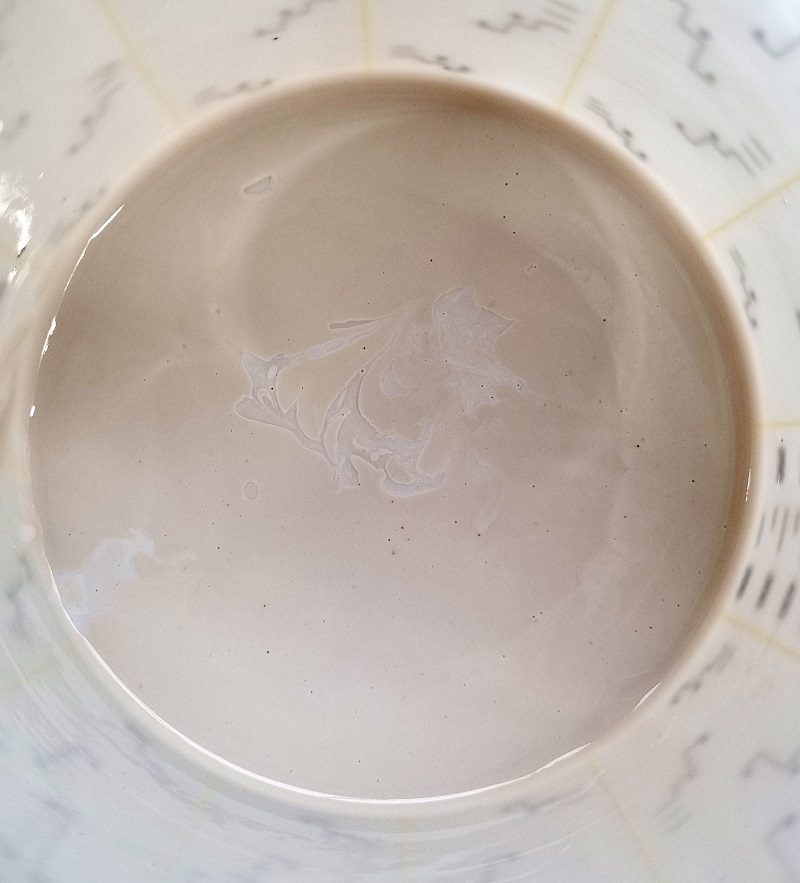
After a while, the alginate will release its moisture. This moisture collects in the mould. When you pour the prepared A1 into the mould, later on pour the mixture back into the bucket, it is possible that you see some moisture in the A1 mixture. Gently mix the A1 again with a spatula and repeat the process (for the best working method see 1.0).

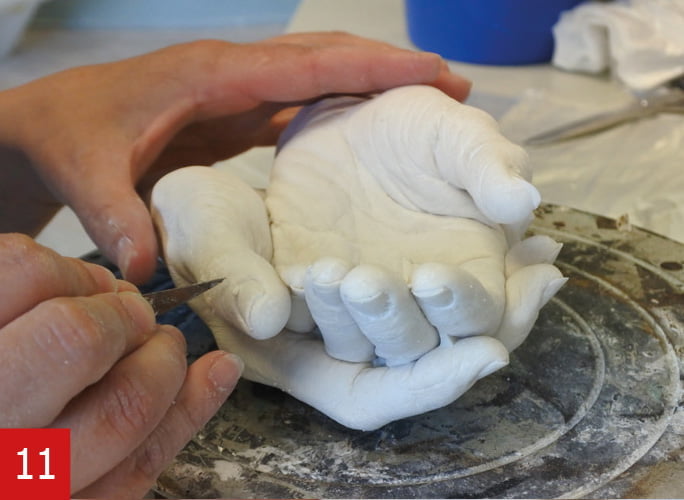
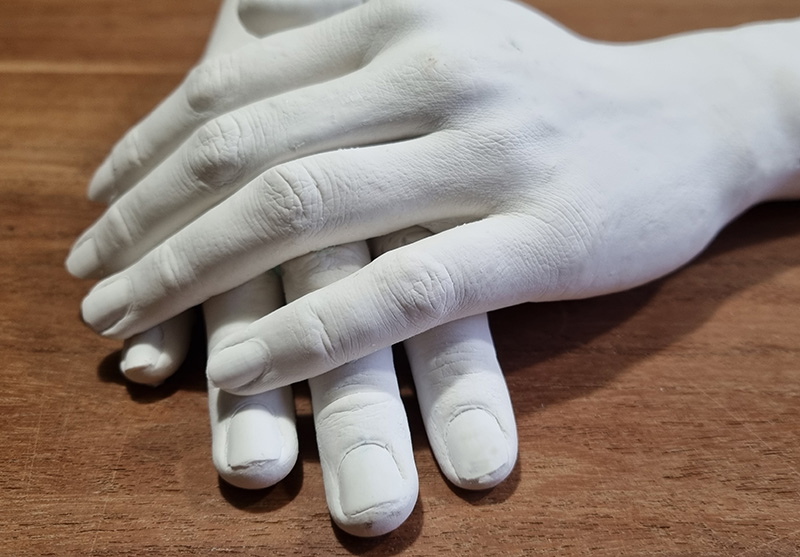
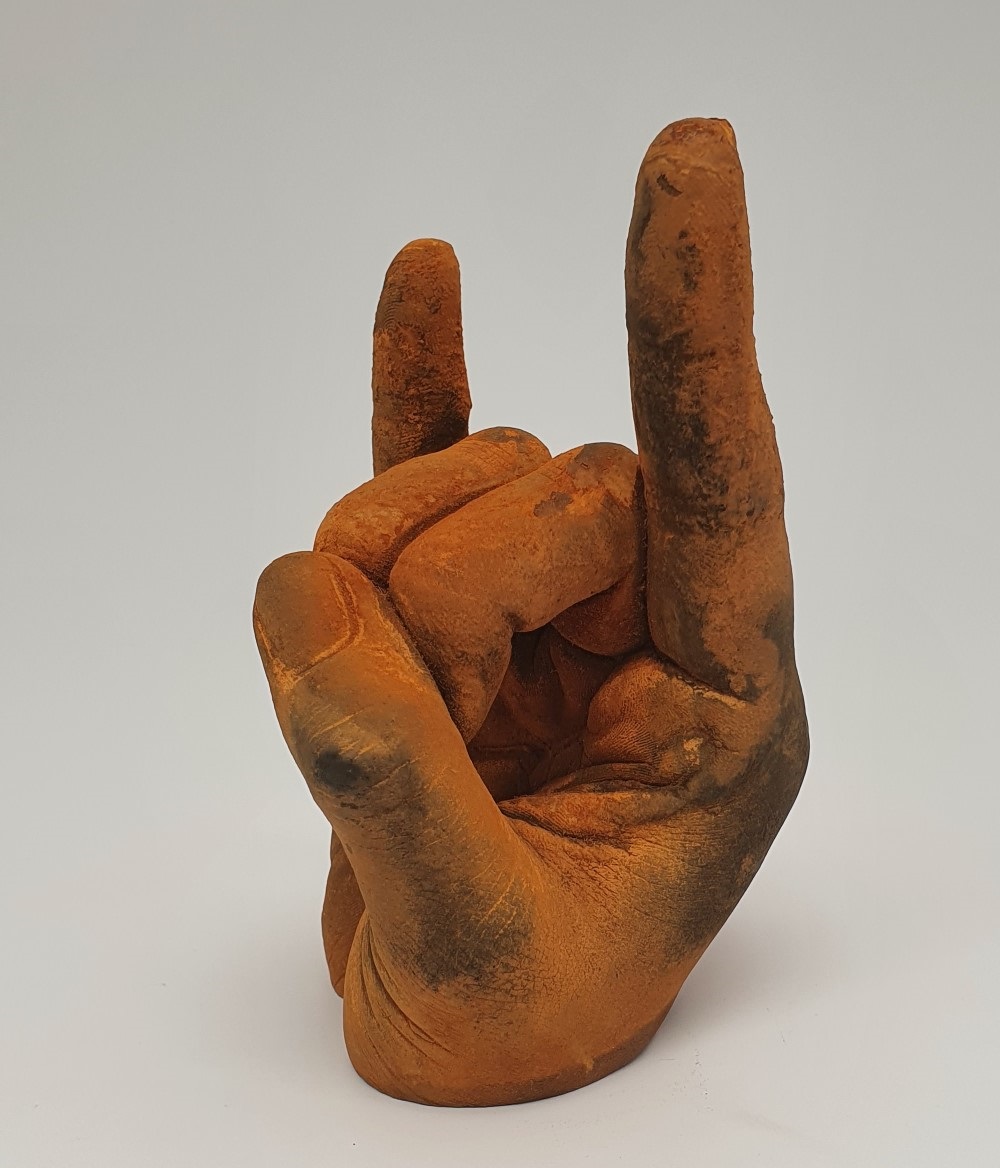
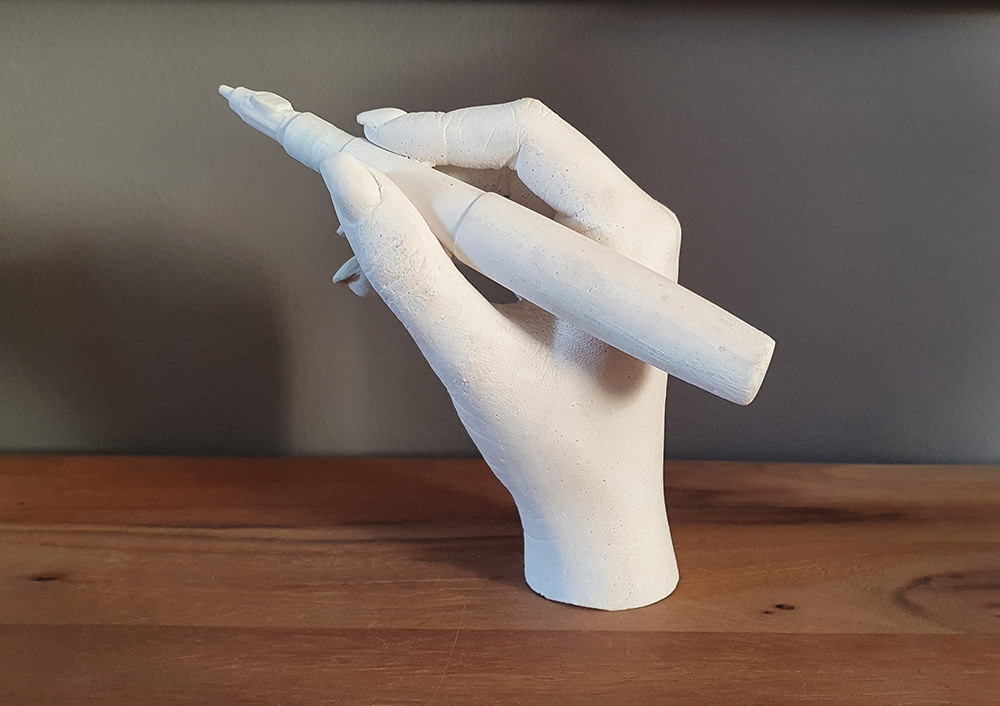
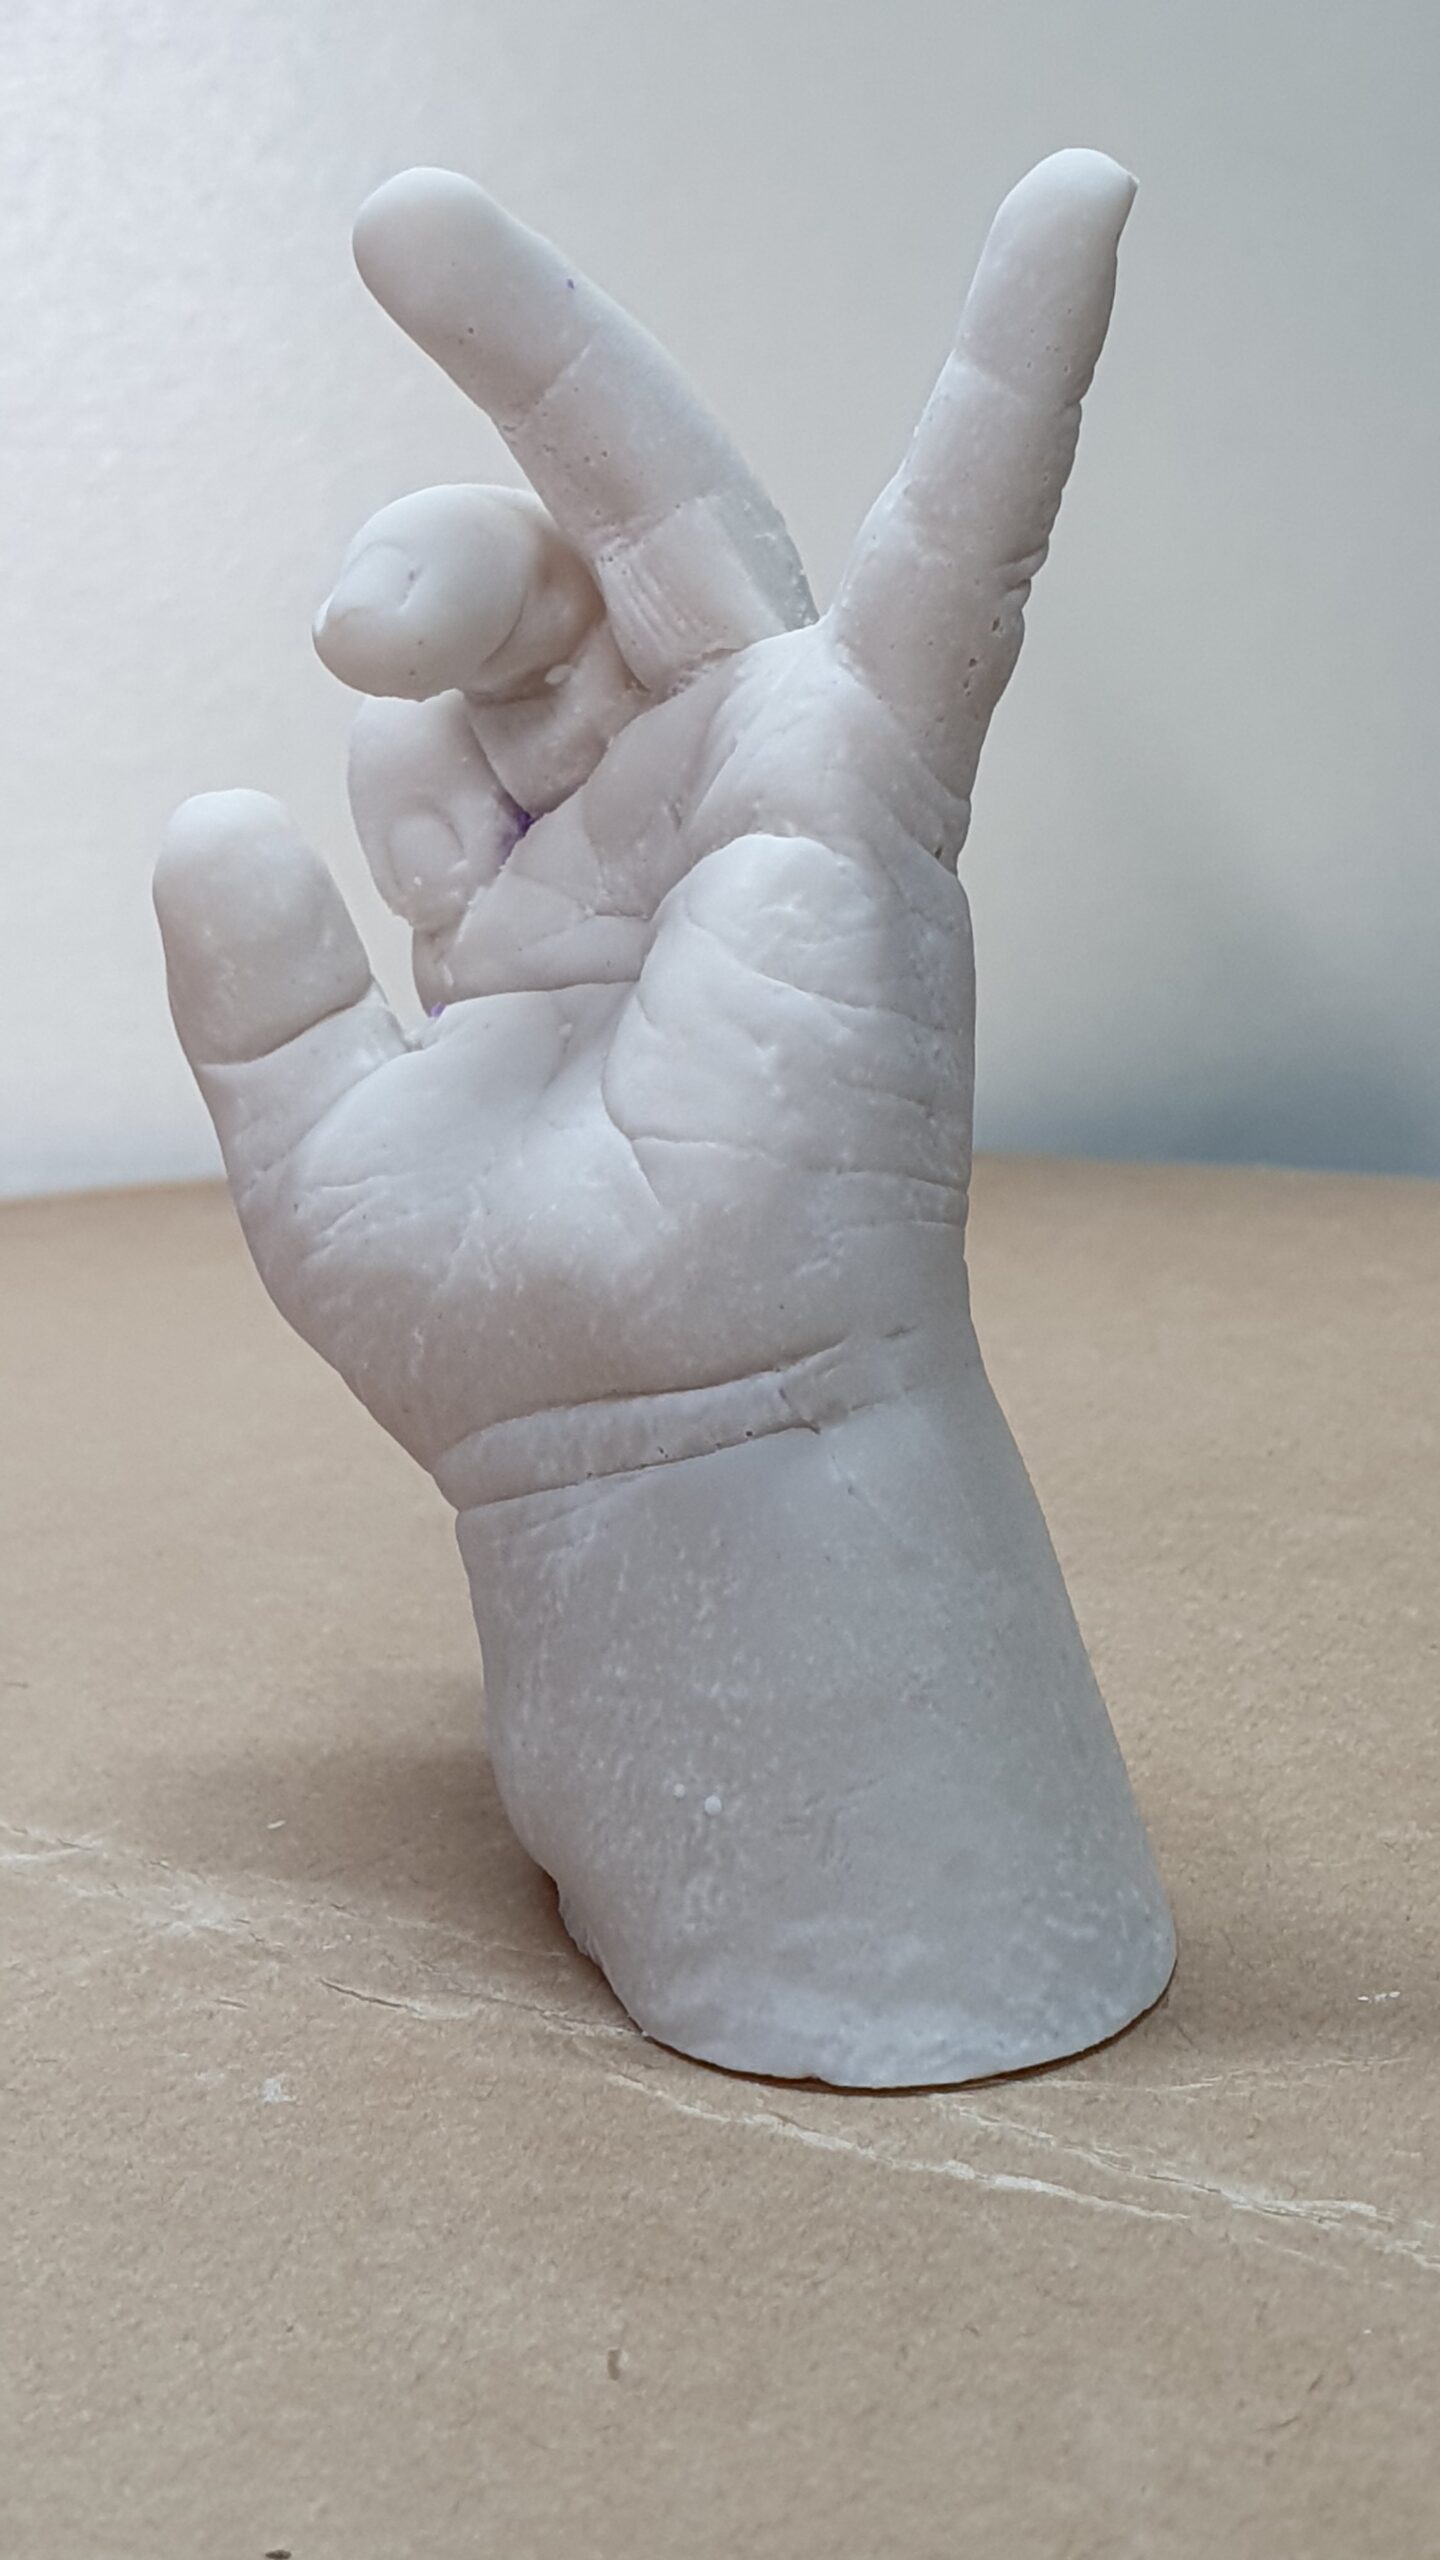
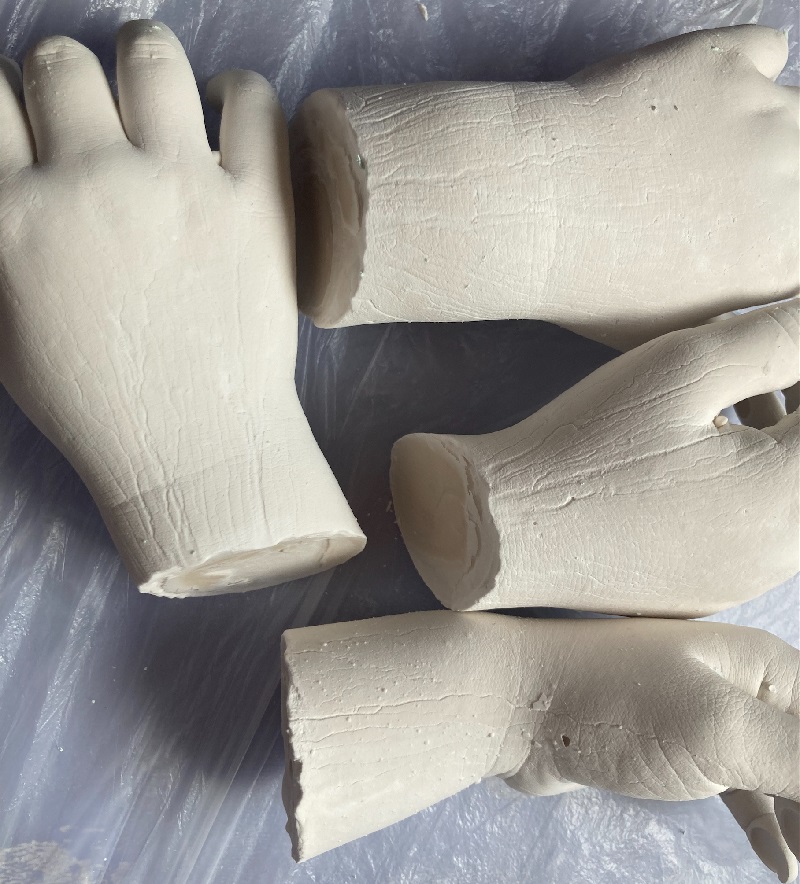
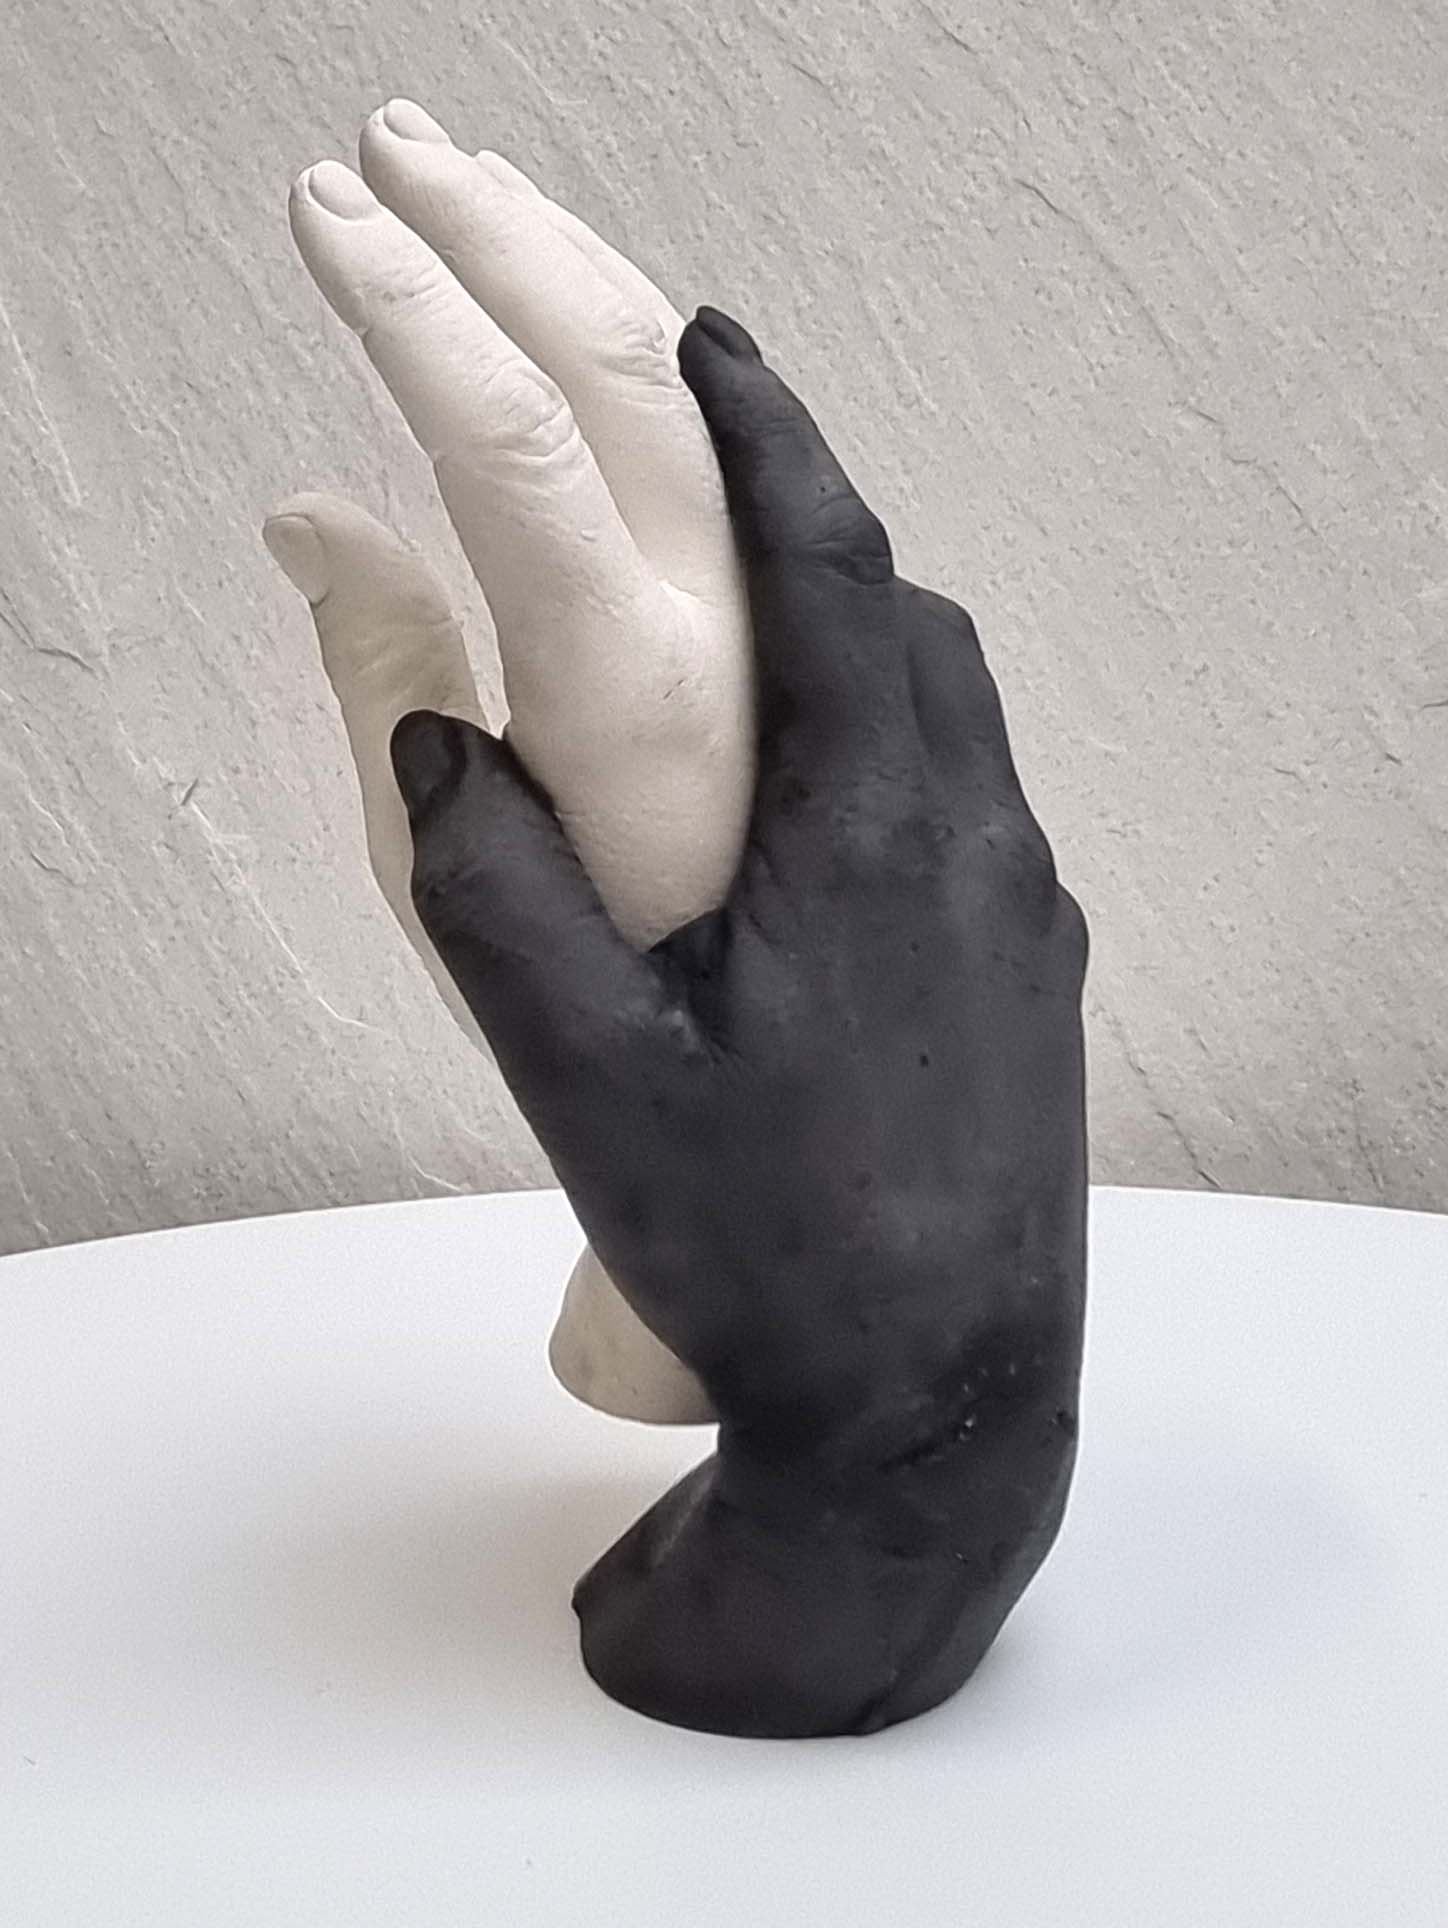
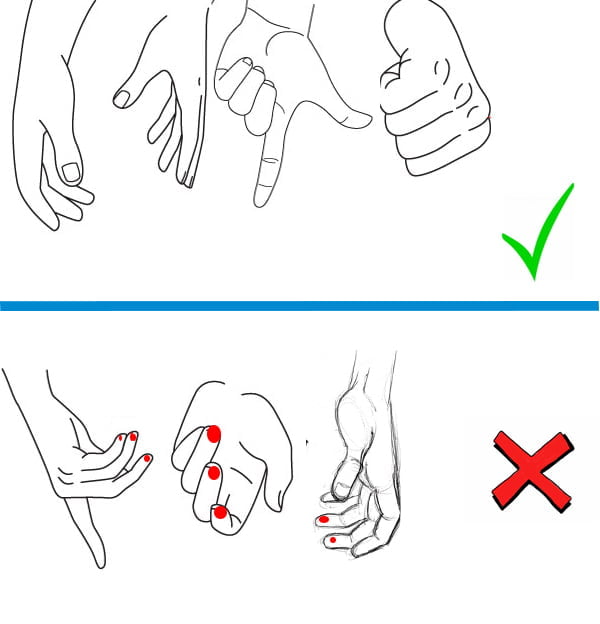
10.0 I’m missing some fingers
There are hand positions that cannot be used properly. This is because air is trapped in the alginate when casting the A1. This will cause fingertips to be missing.

Make sure that the air can always escape (diagonally) upwards. If a finger is crooked that is not possible. The fingertip must touch the palm, so that the air can still go up through the palm.

See the picture for the correct position of the fingers. The red spots indicate where air is trapped and cannot escape. That often results in missing fingertips.

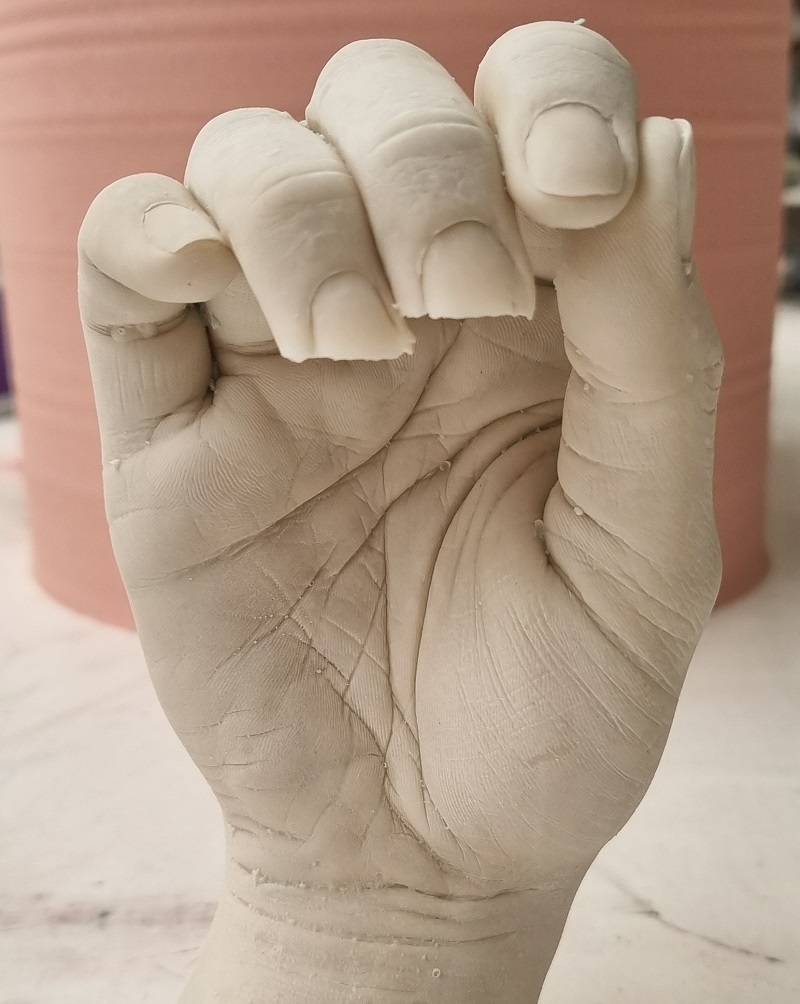
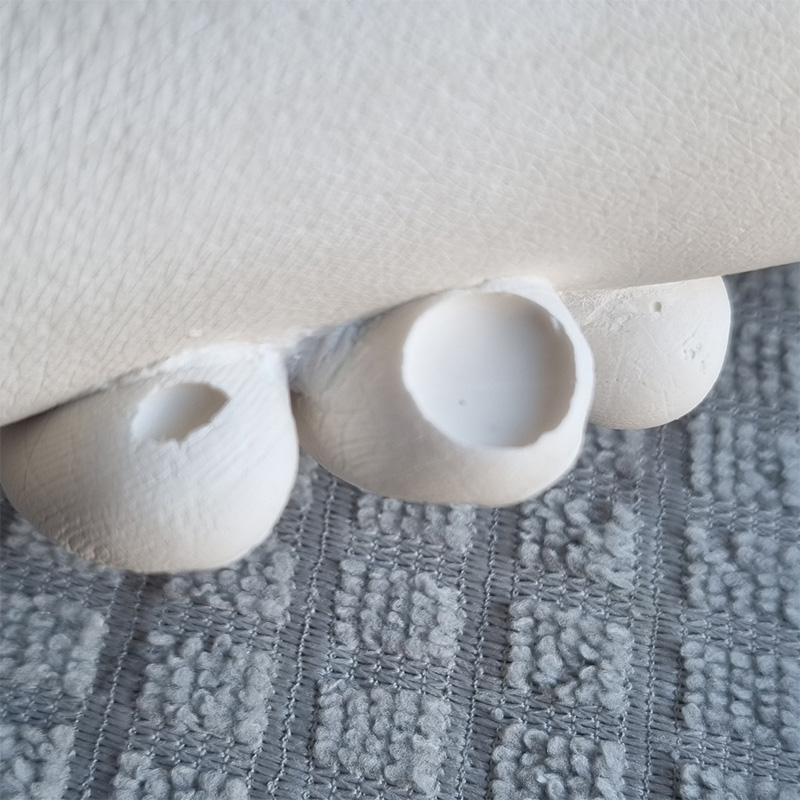
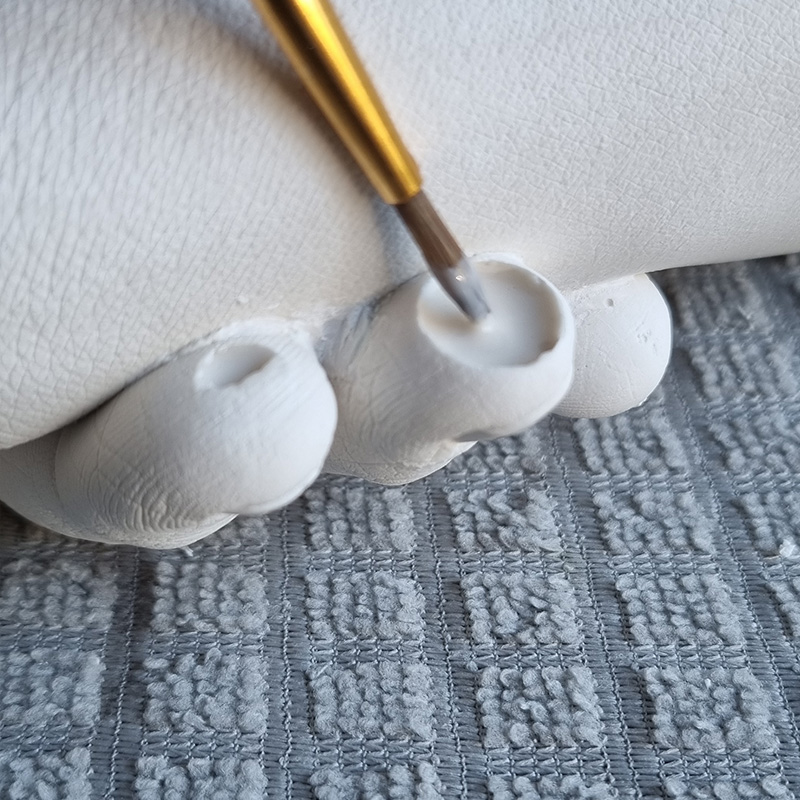
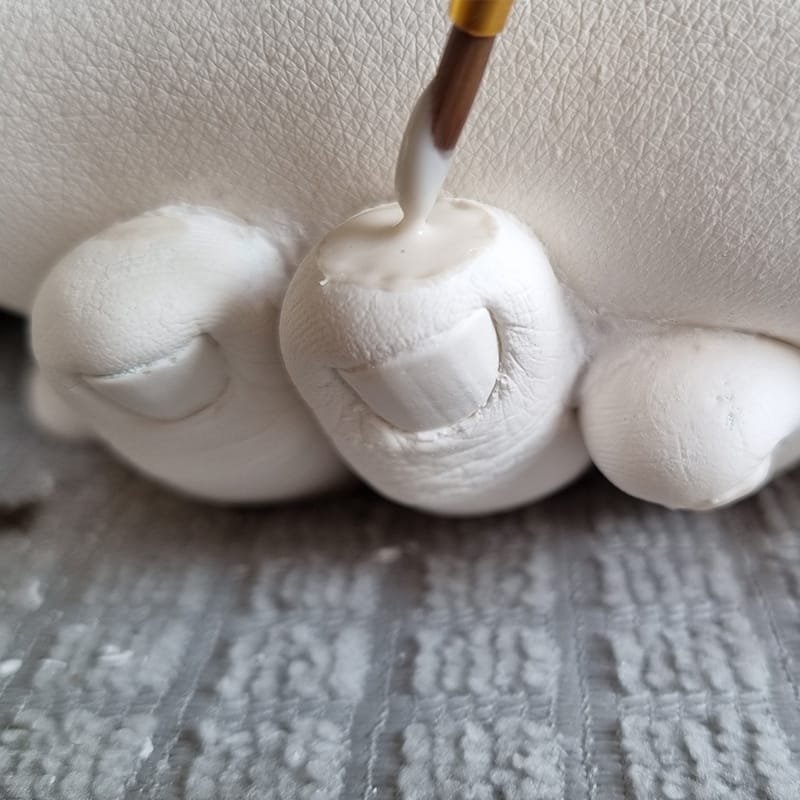
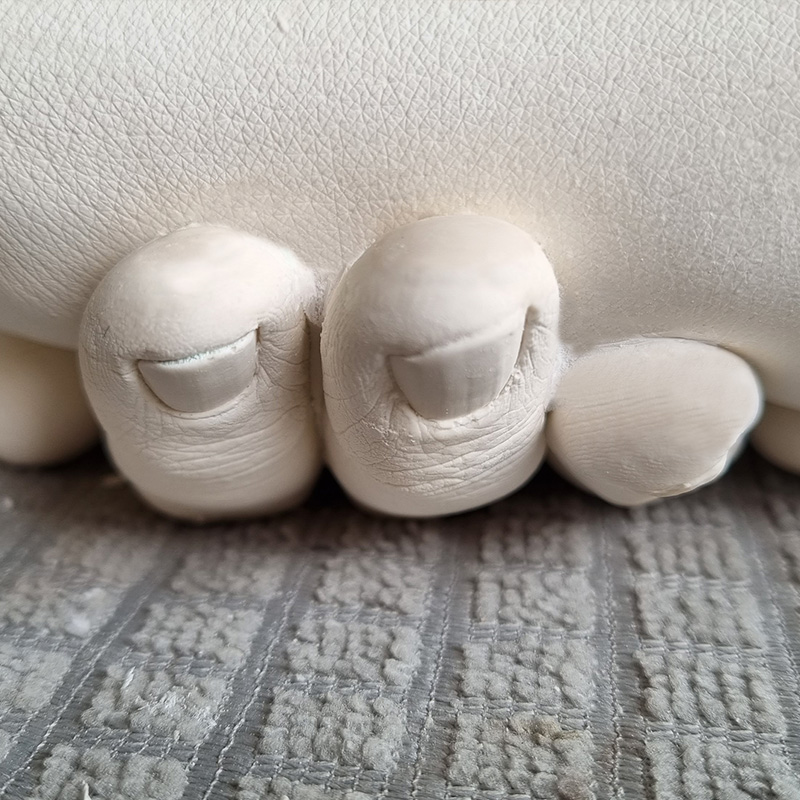
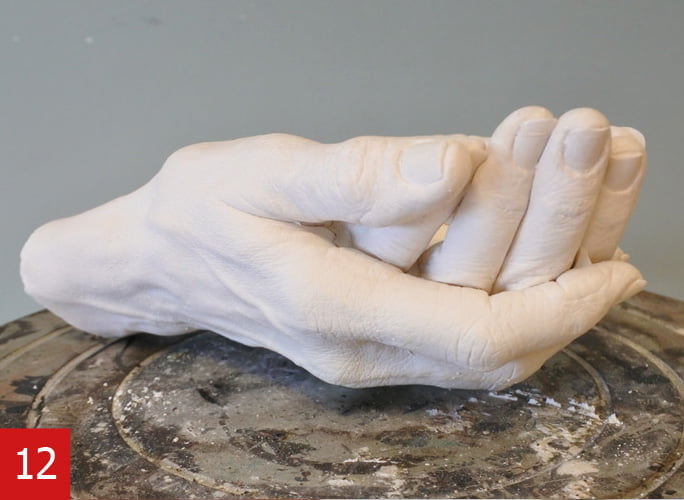
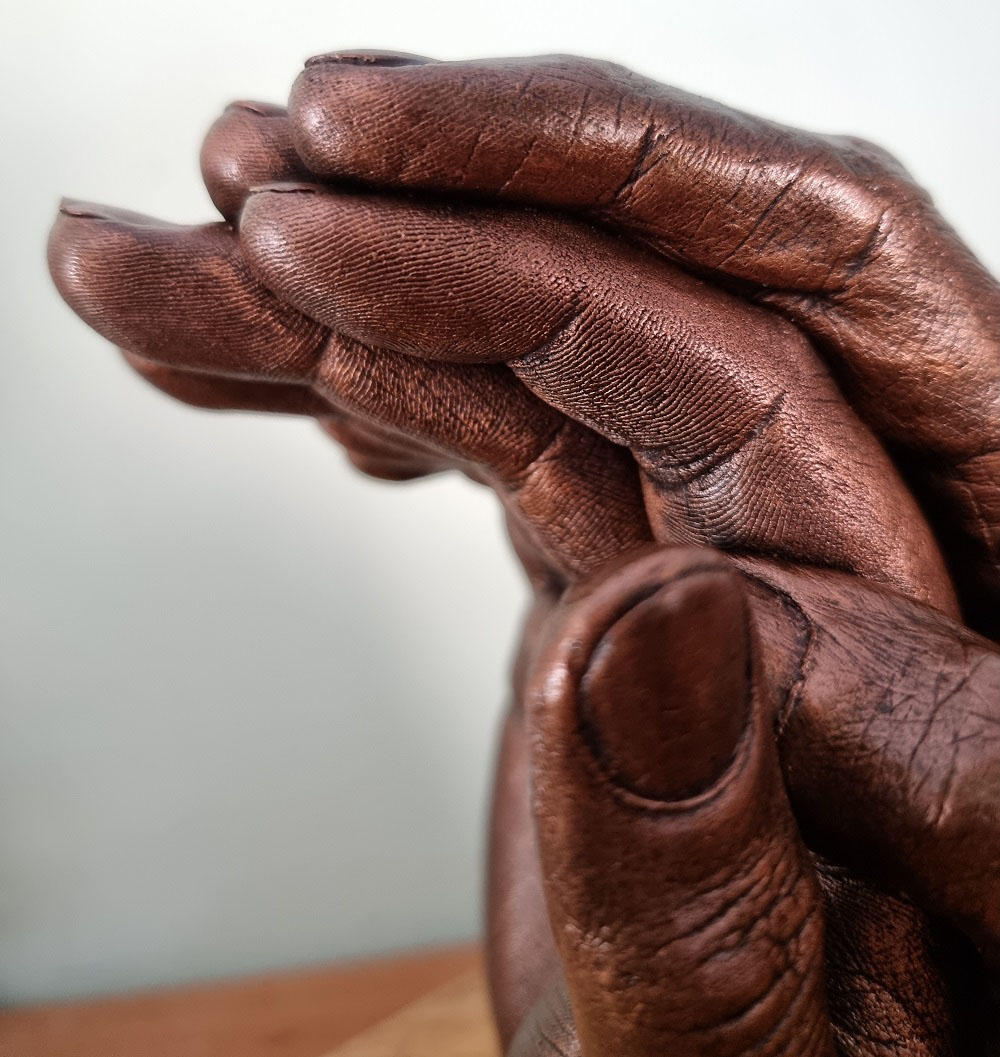
11.0 How to repare an airbubble, for example, under a finger 
In some situations, air bubbles will appear under a finger. This is because the air is trapped in the alginate when casting the A1. In this case you can fill an air bubble with A1. Mix a small amount of A1 (possibly with a little Thix A) and apply it with a thin brush in the air bubble. Depending on the size of the air bubble, you build up the A1 in small layers. Let the A1 cure a bit and apply a little more. When the A1 stands a little longer, it becomes thicker so you can give e.g. a nice bulge to the finger.


Mix the required amount of alginate.
Place, in this case, the hands in the alginate and wait for the alginate to cure.
Take the hands out of the alginate mould. Be careful the alginate does not tear or break.
Weigh 1 part A1 Liquid and 2 parts A1 Powder and mix. The A1 is ready as soon as you run out of lumps or air bubbles. Tip: Gently tap the bucket on a hard surface to release air.
See casting instructions on this page.
Let the A1 cure for about 1 hour.
Carefully turn the bucket over so the cured alginate slides out of the bucket with the cured A1.
Check on the outside of the alginate where the hands are.
The A1 is dry, but not yet fully cured. Therefore, carefully remove the alginate where the pouring holes are located.
Work carefully towards the fragile parts. This can be done with the help of small tools.
With a small tool you remove the remaining alginate pieces from the object.
The end result is an exact copy with all the fine details.
Disclaimer: please be aware for other language translation, some content may not translated properly, you can stay use English language for proper reading
Disclaimer: All (technical) advice and treatment and the possible applications regarding the products are given without obligation, and to the best knowledge and effort, as well as the current state of technology, without an obligation to create results and without any liability. We recommend that the prospective user determines the suitability of our materials and suggestions before adopting them on a commercial scale.