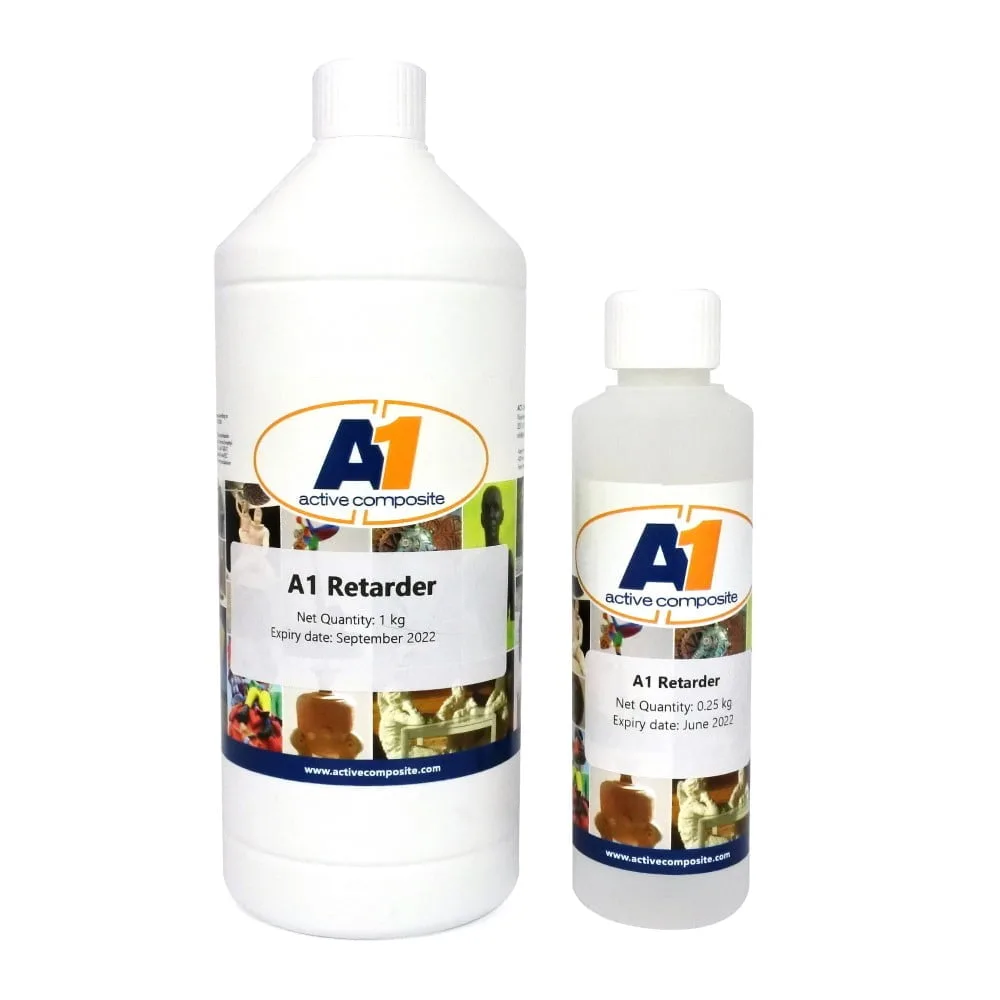
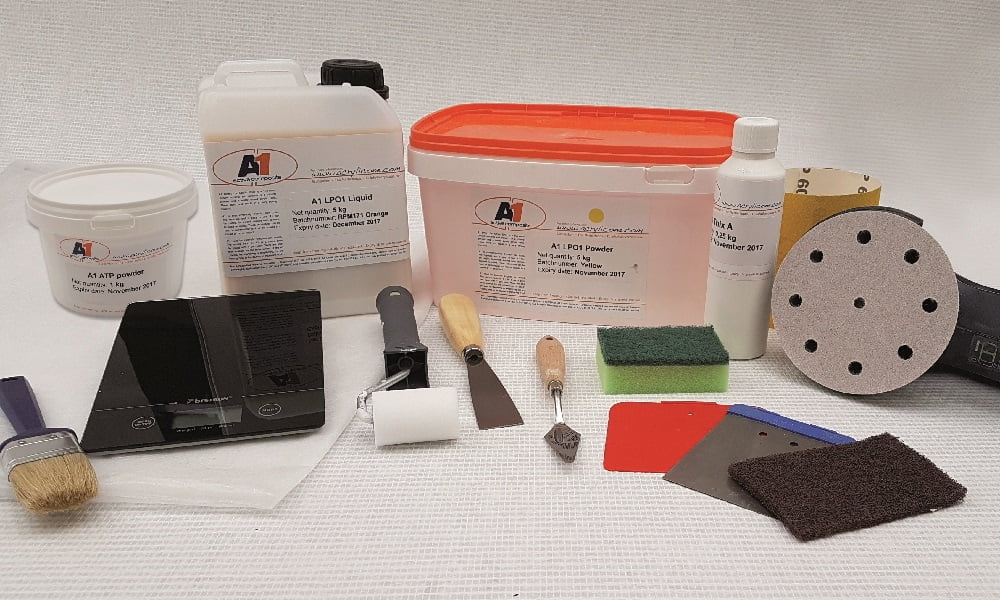
A1 Retarder - Add a maximum 1% of A1 Retarder to the total weight.
1.0 A1 Retarder. Can be used to extend the processing time. Add a maximum of 1% of A1 Retarder to the total weight. As a rule of thumb, you could add 0,3% A1 Retarder to the total A1 weight of the mixed A1 for 20 minutes extra processing time.
We suggest to add the A1 Retarder to the A1 Liquid before adding the A1Powder.
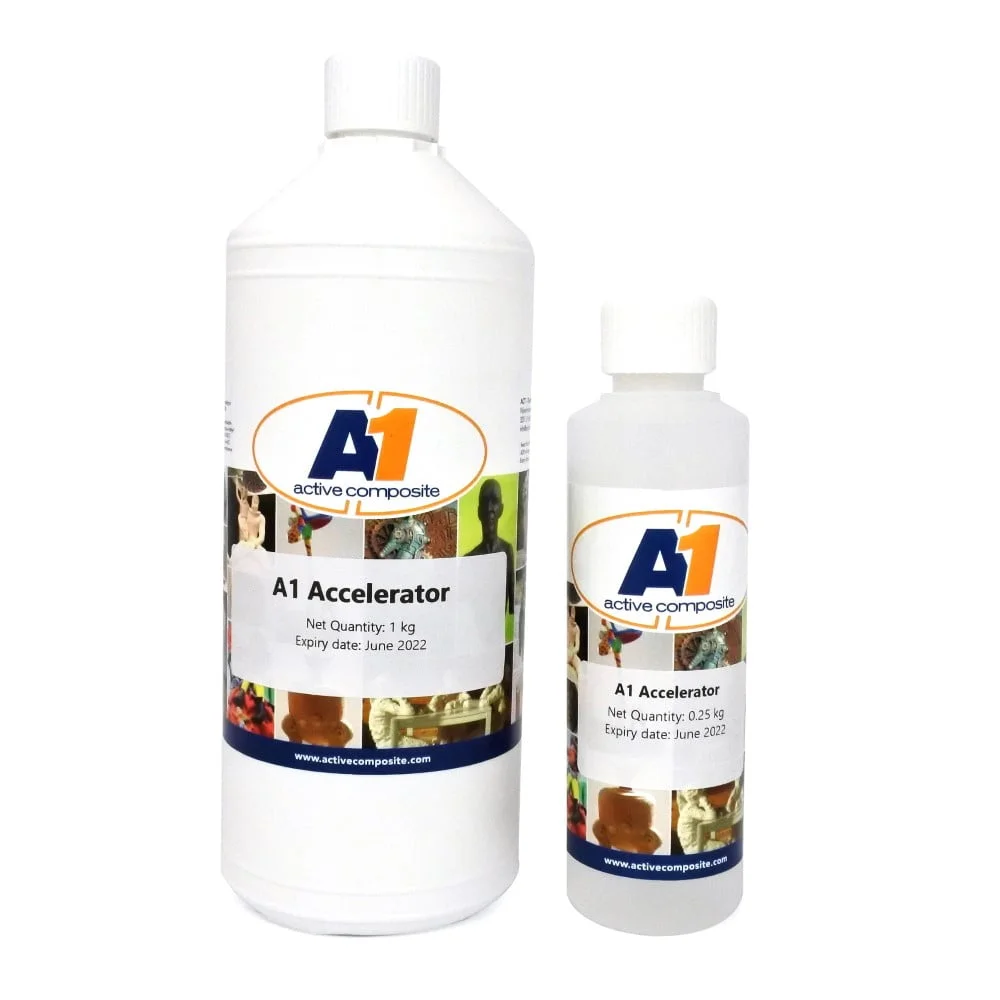
A1 Accelerator - Add a maximum of 1% of A1 Accelerator to the total.
2.0 A1 Accelerator. Can be used to shorten the processing time. Always add the A1 Accelerator to the A1 Liquid. A1 Accelerator can also be used to correct any delaying effects of some pigments and fillers.
Add a maximumof 1% of A1 Accelerator to the total weight.
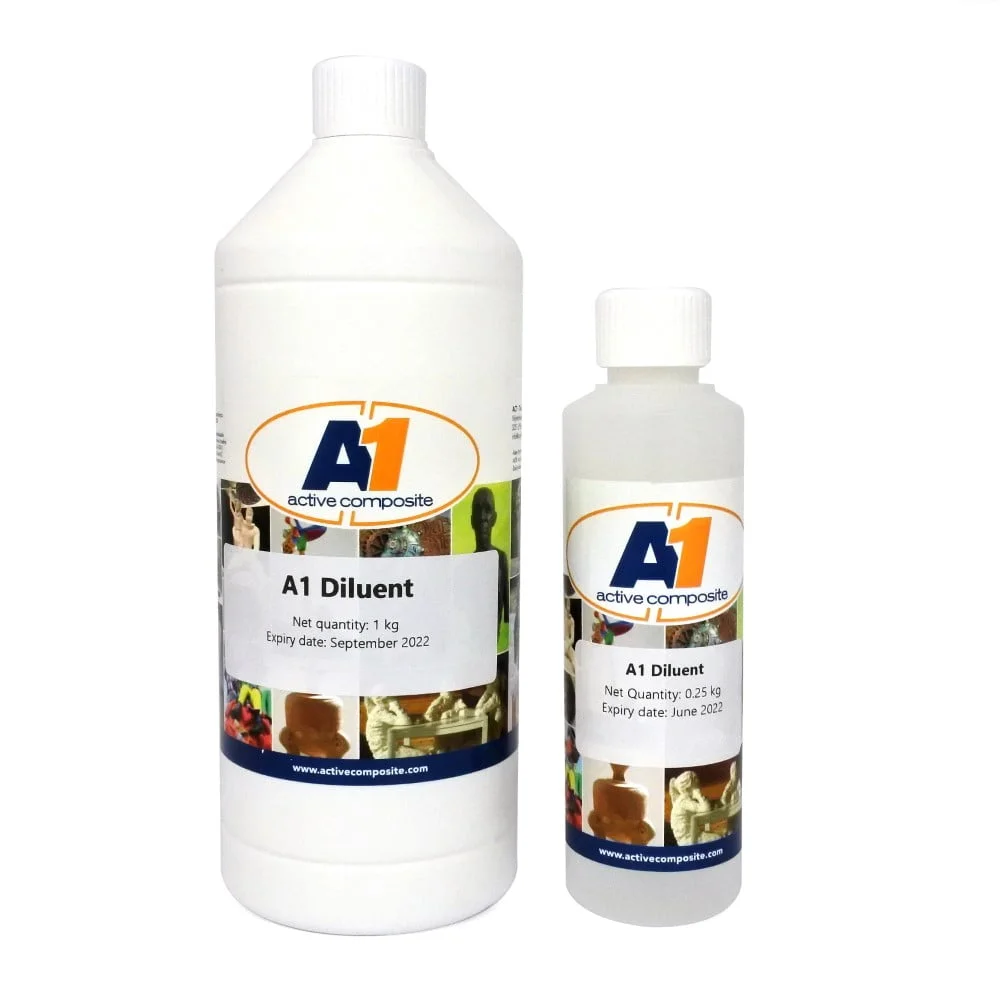
A1 Diluent - Add a maximum of 5% A1 Diluent relative to the total weight.
3.0 A1 Diluent. Lowers the viscosity of A1. This can be used to cast complicated products. A1 Diluent can also be used to use more fillers. A1 Diluent may affect the processing time.
Use a maximum of 5% A1 Diluent relative to the total weight.
4.0 Adding A1 Retarder. The standard processing time of A1 is between 20 and 25 minutes. If desired, it is possible to extend this processing time. We recommend a processing time of max. 1 hour.
As a rule of thumb, you could add 0,3% A1 Retarder to the total A1 weight of the mixed A1 for 20 minutes extra processing time. This is 3 gram per kg A1 for 20 minutes extra processing time. This time also depends on the A1 Powder and can deviate. That is why we advise you to perform a small test beforehand.
We recommend that the A1 Retarder is first added to the A1 Liquid before it is mixed with A1 Powder.
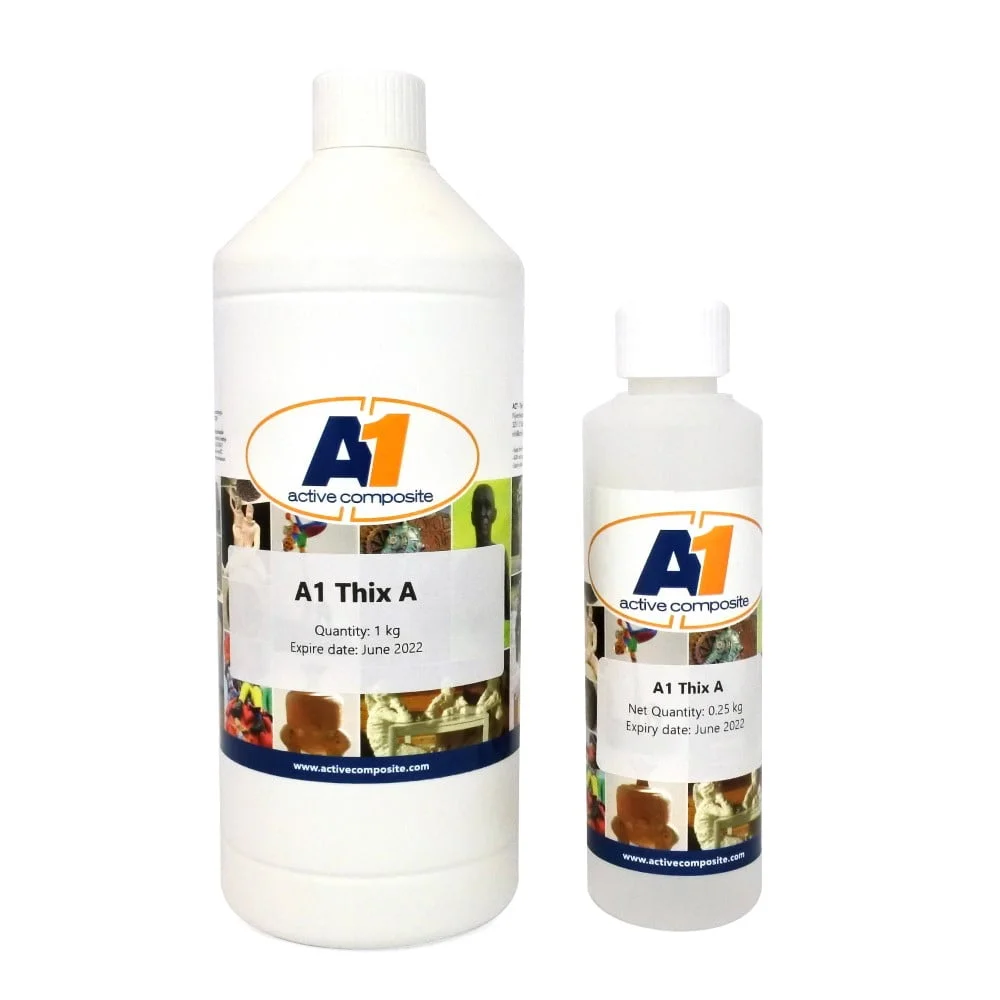
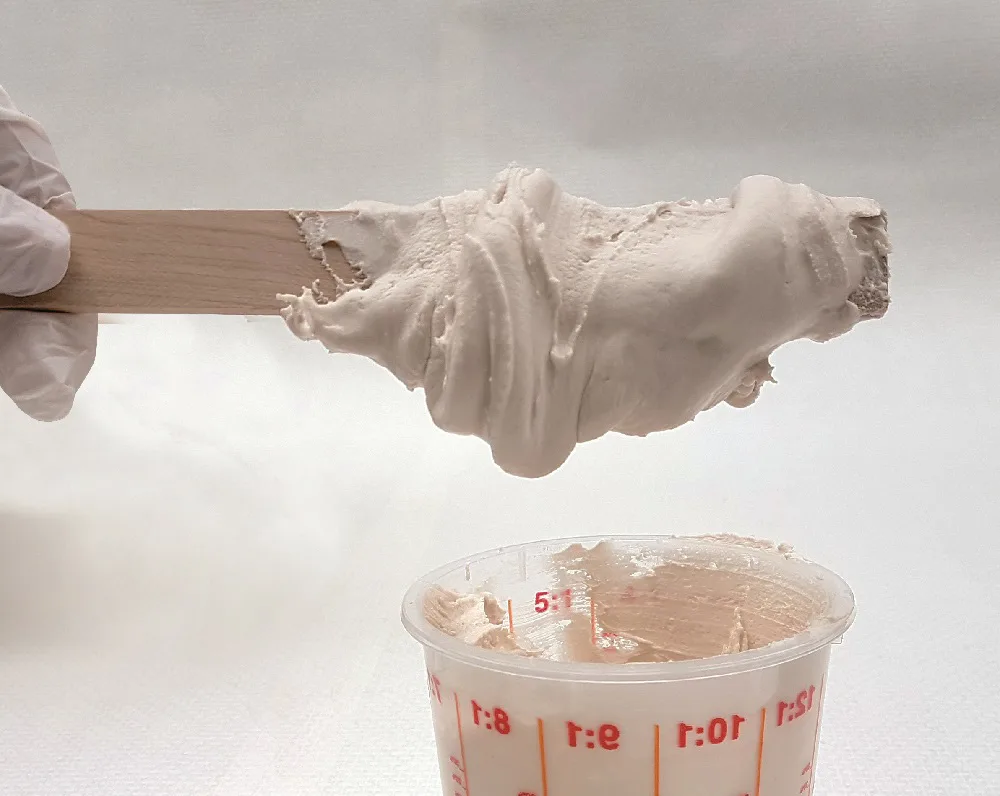
A1 Thix A - When adding 2% to the total weight, the maximum achievable thickness is reached.
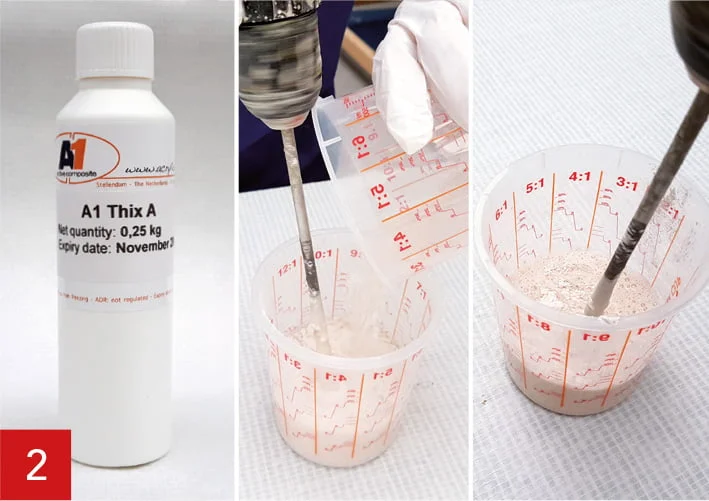
5.0 A1 Thix A.
Is an additive to thicken the product into a gel. This thixotropy agent is used to make gelcoats and to manufacture vertical or overhanging parts. Add the A1 Thix A to the created A1 until the desired thickness (viscosity) is reached.
The maximum percentage A1 Thix A you can add is 2% to the total weight. Adding more eliminates the effect again.
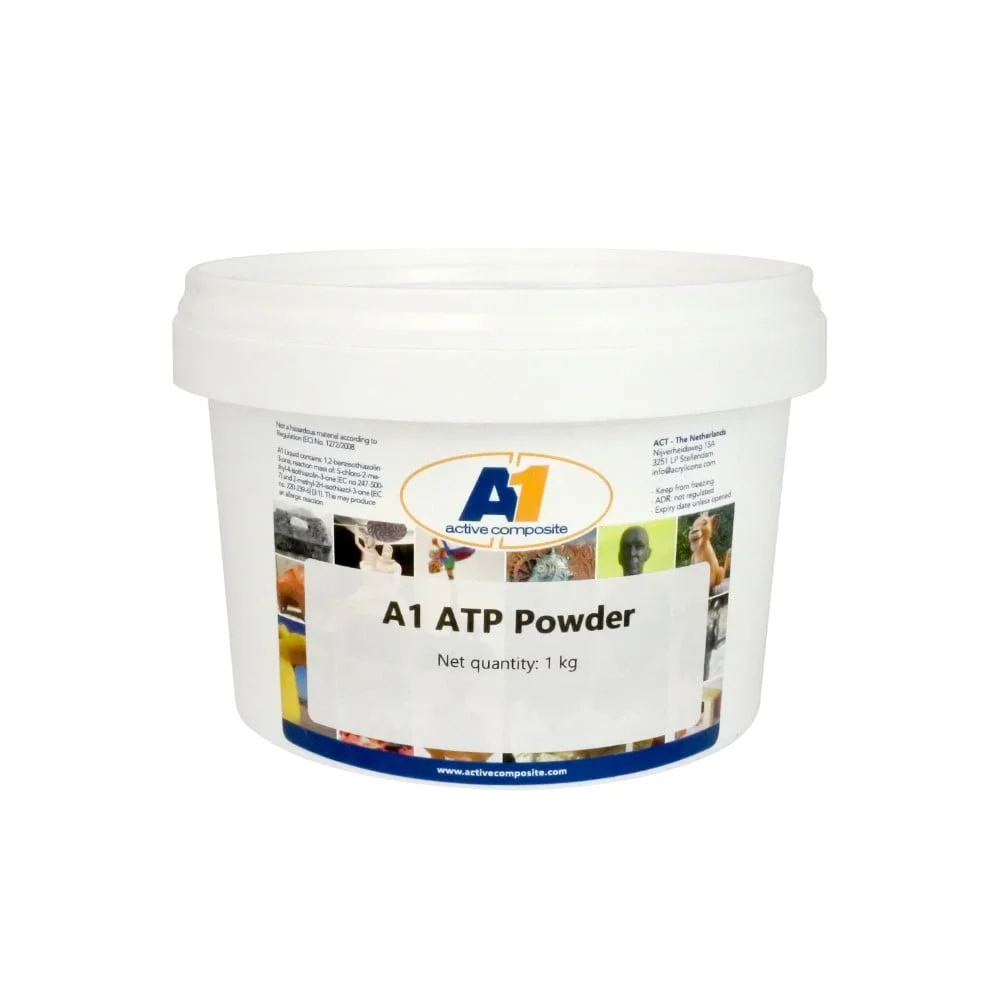
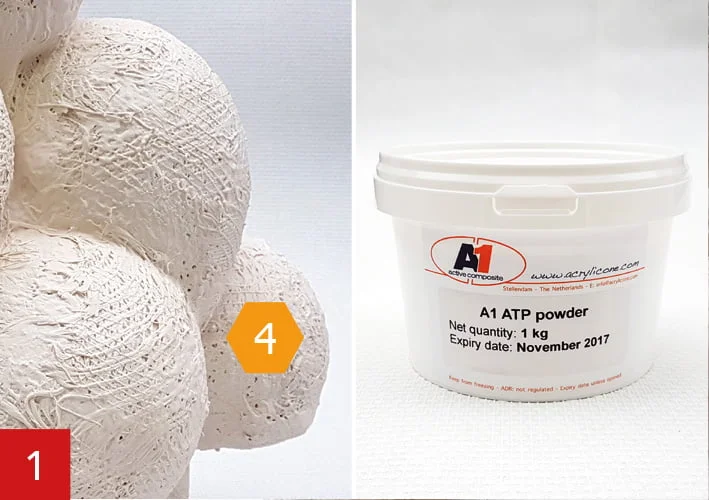
A1 ATP Powder - Add what you need to make filler thickness.
6.0 A1 ATP Powder. Is a volume thickener. This allows the A1 to be thickened to filler thickness. This thickened A1 can be used to finish an object and apply a smooth surface. We recommend using A1 ATP Powder for indoor applications exclusively
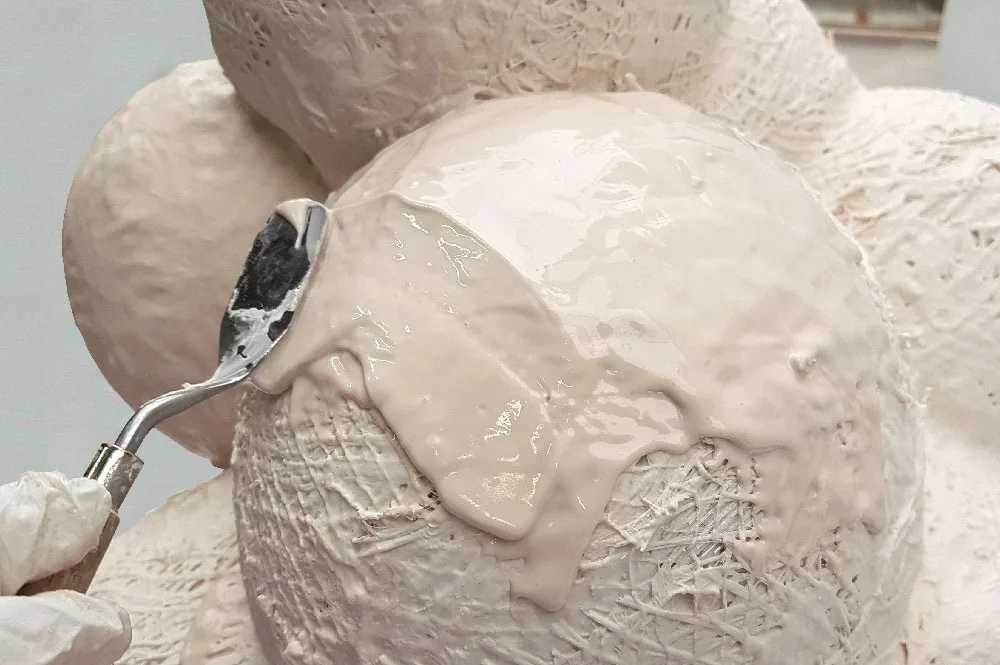
7.0 Top layer A1. When working in the mould, the 1st layer (called top layer) of A1 is important, as this is ultimately the visible layer. By using the A1 Thix A you can turn the A1 into a beautiful pasta. Because of the thickening, the A1 stays in place, even when working in a mould with vertical parts. To ensure this top layer has enough thickness we suggest the following working method:
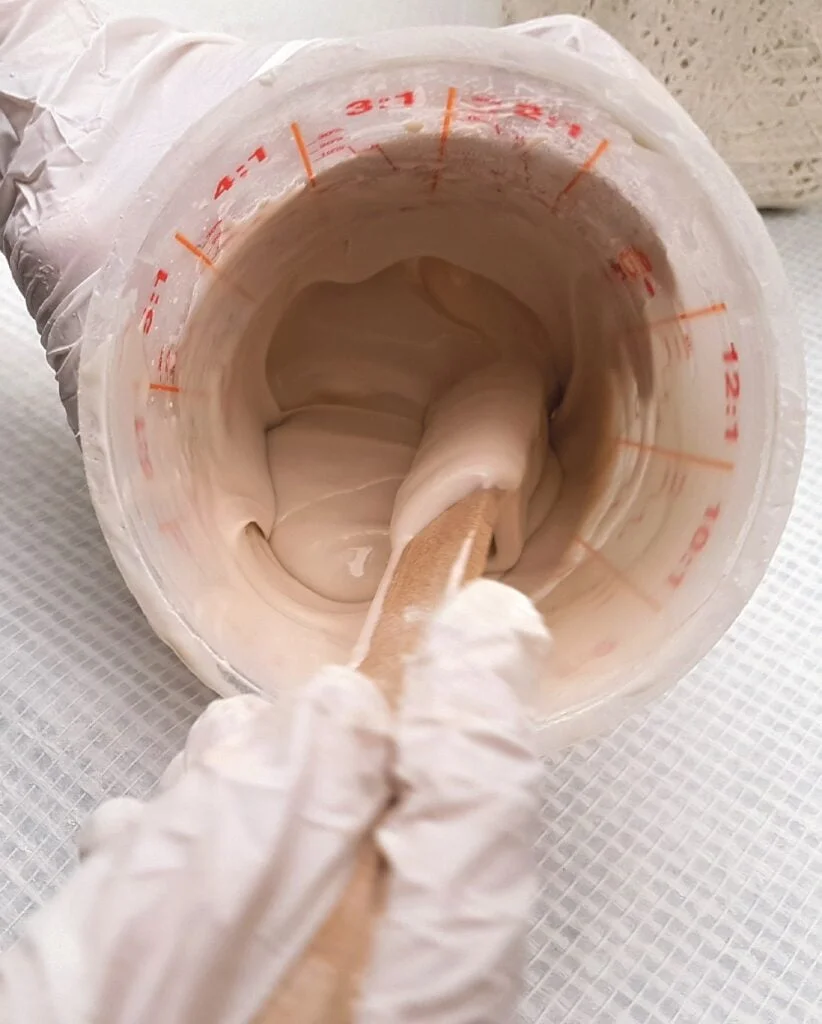
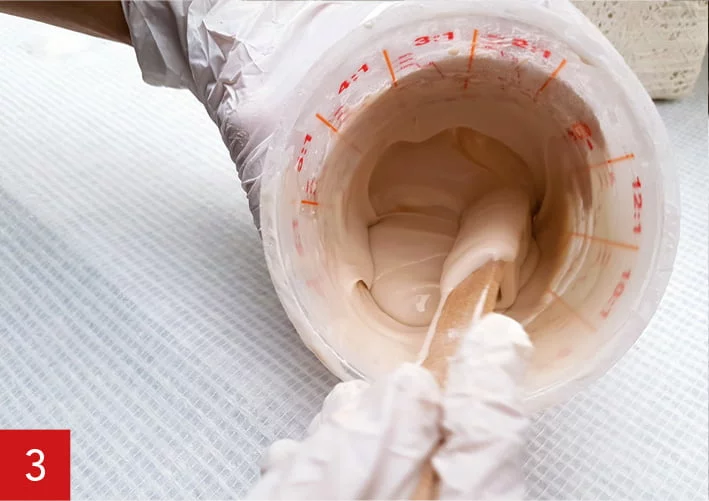
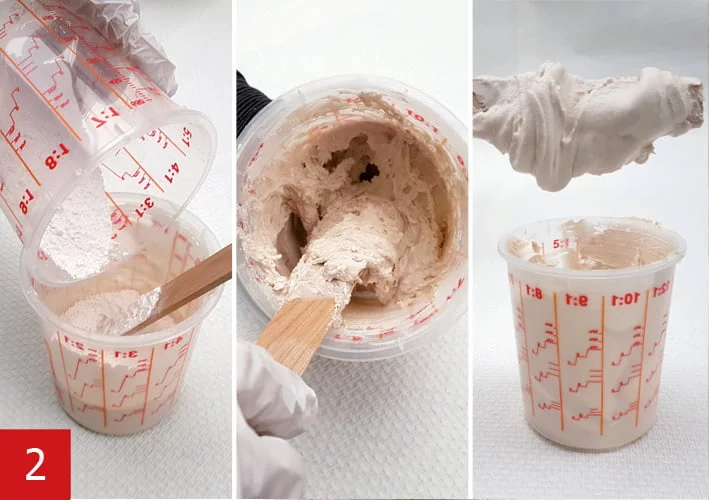
Mix the A1 Liquid with the A1 Powder until a smooth mixture is obtained.
Add to the A1, mixture if desired, pigment in the right colour and/or other materials such as dried sand or metal powders.
Add A1 Thix A until the desired thickness (viscosity) is reached. The maximum percentage of A1 Thix A you can add is 2%. Adding more will eliminate the effect.
Apply the A1 top layer to the mould with a brush, for example. Keep a layer thickness of at least 1 mm.
After gelling of the top layer (normally between 20 – 30 minutes) we advise to continue working the next A1 (glass fiber reinforced) within 1 hour to keep the adhesion optimal.
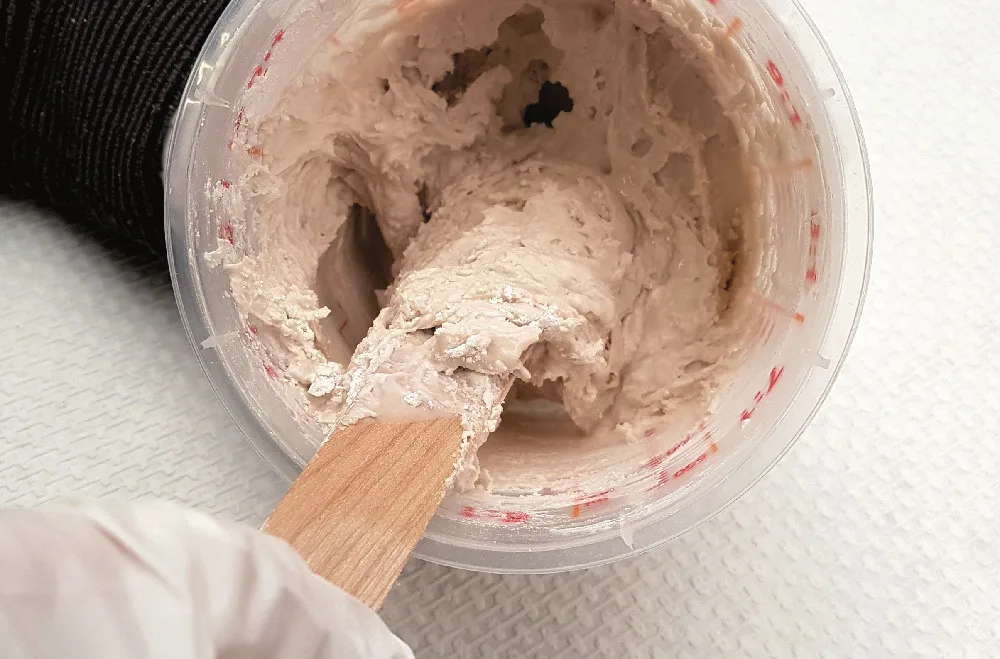
8.0 Create your own wall filler with A1 ATP Powder. You can make your own wall hole filler by adding A1 ATP Powder to the A1. First mix the A1 Liquid and the A1 Powder together. Then add A1 ATP Powder as needed to get a firm paste. As an indication you can add about 30-40% of ATP Powder to total weight of the A1. With the help of a putty knife, holes can be easily sealed.
9.0 What is the best way of repairing damage on an A1 object?
Although it is unfortunately not possible to give an advice that will work in all cases a general suggestion would be to use A1 in combination with ATP Powder and in some cases some extra Thix A. By thickening the A1 into a paste you will be able to fill most of the damages. If possible add some glass reinforcement to give the A1 repair extra strength.
To create a smooth surface, sanding afterward is often needed. Be aware that colour differences will occur when sanding the A1.
10.0 What is the best way to seal A1 without stripes?? To apply the A1 sealer as streak-free as possible, it is advisable to dilute the sealer with 30% water. Apply the sealer thinly with a brush or roller and let it soak in for a while. Before the sealer has dried, first absorb/redistribute material with a dry (cotton) cloth and do the same with a damp sponge. Then rub the surface dry again with a clean (cotton) cloth.
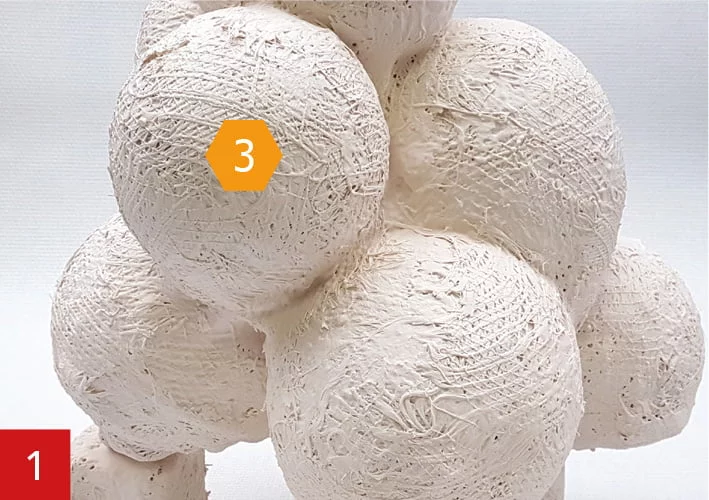
Smooth finish of a1
11.0 There are 3 main used techniques to finish A1 smooth:
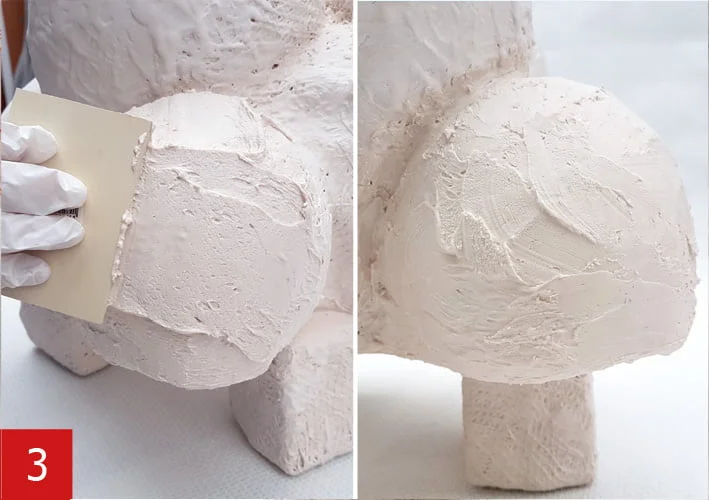
A1 Thix A. Add A1 Thix A to the A1 to thicken the A1 into a paste. Apply the thickened A1 paste with a spatula or putty tool. This creates a layer that you can finish within 1 hour with a slightly damp sponge for a smooth result. After drying you can work on the A1 object with (waterproof) abrasive pads or (waterproof) sandpaper.
A1 ATP Powder. A1 ATP Powder is a volume thickener. This allows the A1 to be thickened to filler thickness. Thicken the A1 with ATP Powder; with this A1 can be thickened to filler thickness. The ATP Powder can be added indefinitely, until the desired thickness is reached.
This does, however, result in a less strong product when a large amount of ATP Powder is added. ATP Powder can only be used for indoor applications. The application of A1 with ATP Powder goes well with for example spatula, palette, putty knife etc.
After drying you can if desired with waterproof abrasive pads or waterproof sandpaper further refine to an even smoother whole.
C-veil. C-veil is a thin glass fleece finish. Apply C-veil to the still damp last layer A1. If the A1 is dry, first coat it with a layer of A1. The C-veil is very easy to tear, small pieces are easy to press, so you can achieve a nice smooth and seamless result. If desired, a second layer with C-veil can be applied. Like the A1 Triaxial fibre, the C-veil cannot be sanded.
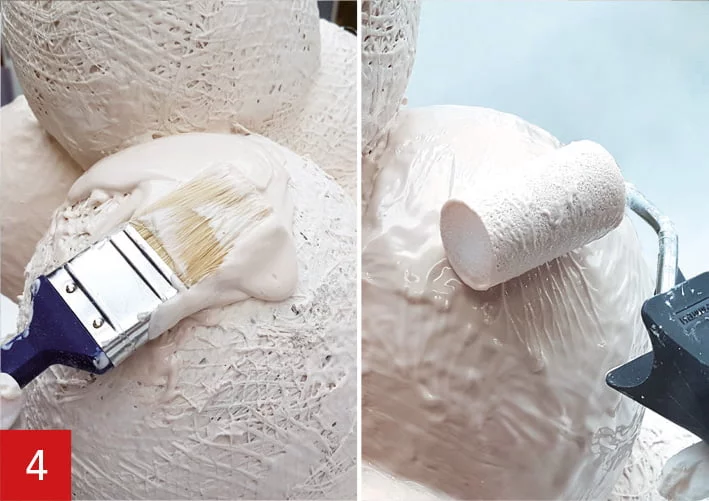
Smooth finish with Thix A using a brush, roller, spatula, squeegee, sponge, sanding paper or machine
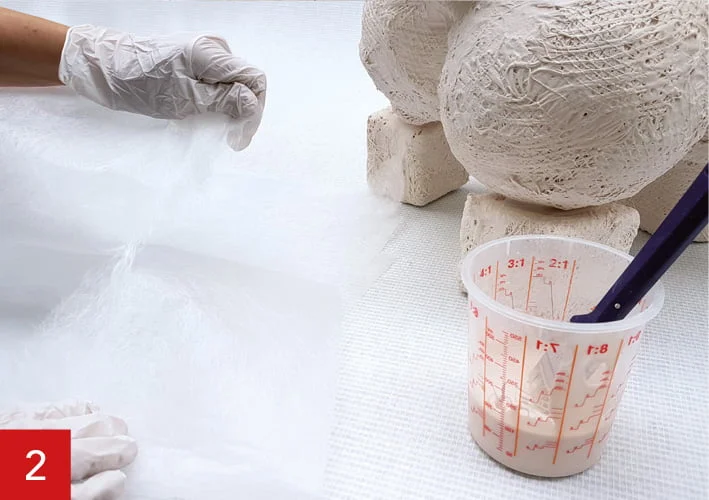
Creating a smooth finish on the object. First weigh 1 part A1 Liquid and 2 parts A1 Powder.
Add 2% Thix A (of the total quantity A1) to the A1 Liquid. By using Thix A the A1 will result in a thicker texture
Mix the A1 Liquid, Thix A and A1 Powder resulting in a smooth material.
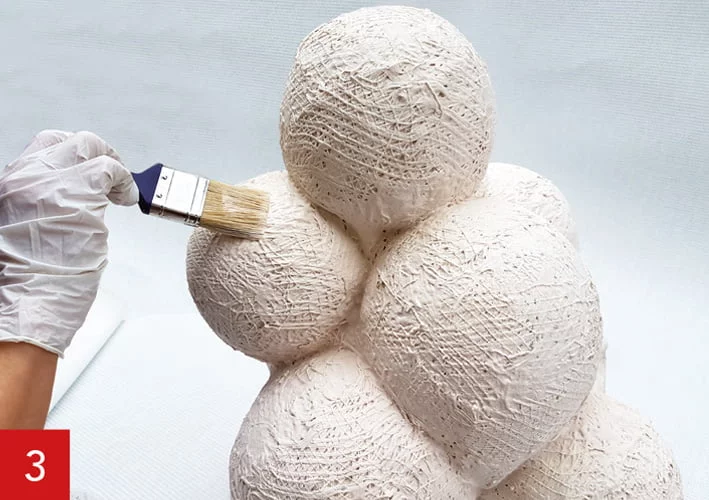
The A1 can be applied with a: brush, roller or...
...by spatula or squeegee.
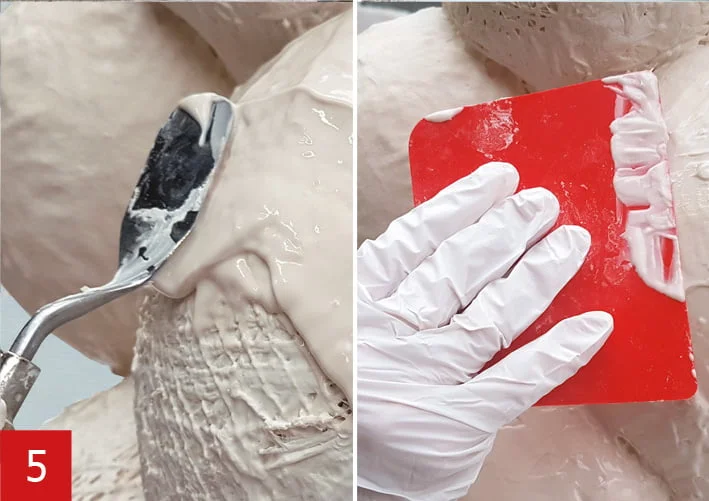
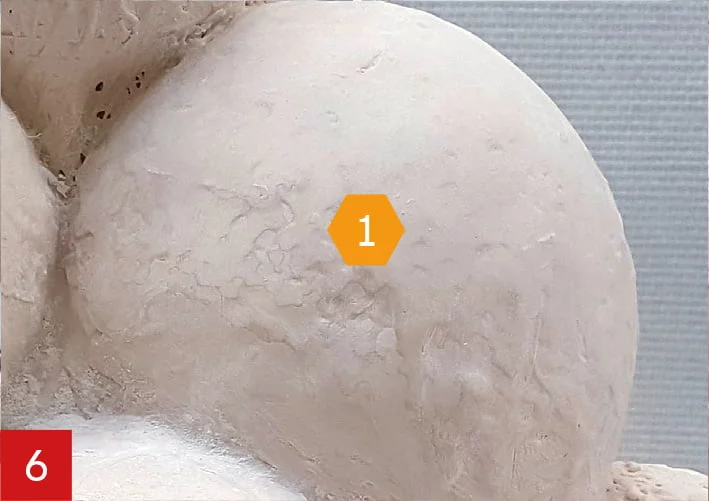
Result is a smooth finish
Or use (after ±20 minutes) a damp sponge or a waterproof sanding pad.
Or by using sanding paper manually or by machine.
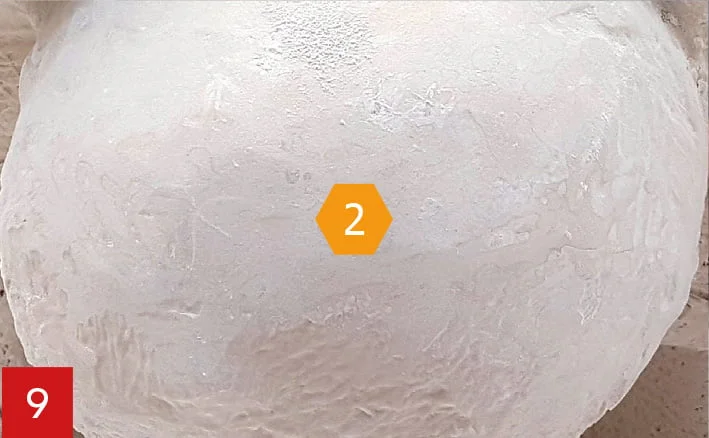
Resulting in an even more smooth finish.
Smooth finish with C-veil
Creating a smooth finish on the object. First weigh 1 part A1 Liquid and 2 parts A1 Powder and mix until all lumps have disappeared.
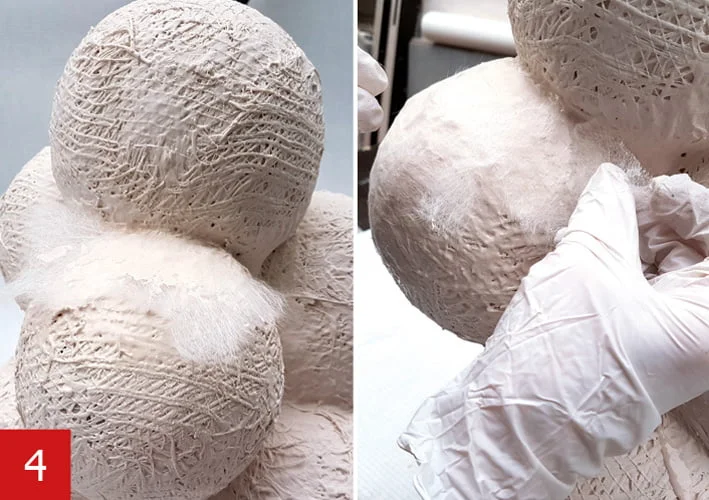
Tear off a piece of C-veil (use gloves).
Apply a thin layer of A1 on the surface.
Press the small pieces of C-veil into the A1. Overlay the pieces of C-veil.
The C-veil must be covered with a layer of A1 by hand or brush.
For a more smooth finish you can add a second layer of C-veil.
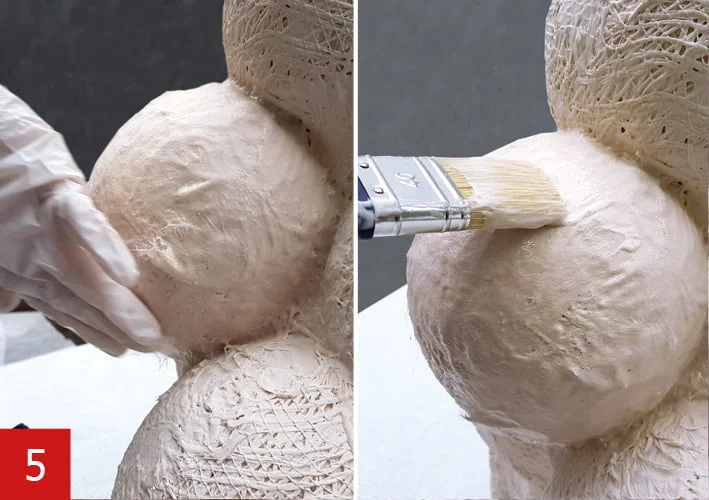
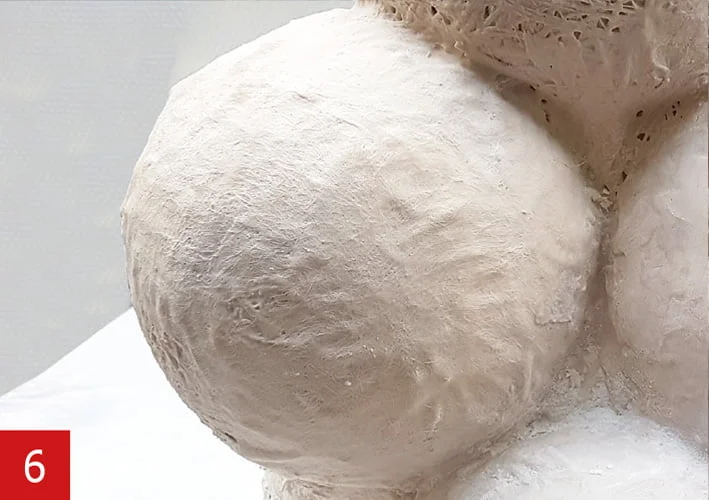
Smooth finish with A1 ATP powder
Creating a smooth finish on the object. First weigh 1 part A1 Liquid and 2 parts A1 Powder and mix until all lumps have disappeared. Set up the ATP powder.
Add as much ATP powder as needed into the A1. Stir firmly till all lumps have disappeared. The A1 texture can be made as a paste or as a putty.
Resulting in a smooth finish. For an even more smooth finish (after ± 20 min.) use the sanding techniques.
Disclaimer: please be aware for other language translation, some content may not translated properly, you can stay use English language for proper reading
Disclaimer: All (technical) advice and treatment and the possible applications regarding the products are given without obligation, and to the best knowledge and effort, as well as the current state of technology, without an obligation to create results and without any liability. We recommend that the prospective user determines the suitability of our materials and suggestions before adopting them on a commercial scale.