Fillers and metal powders
1.0 It is possible to add many other products to the A1 base material in addition to pigment and metal powders. This allows you to give the A1 a different look, change its properties and possibly save costs.
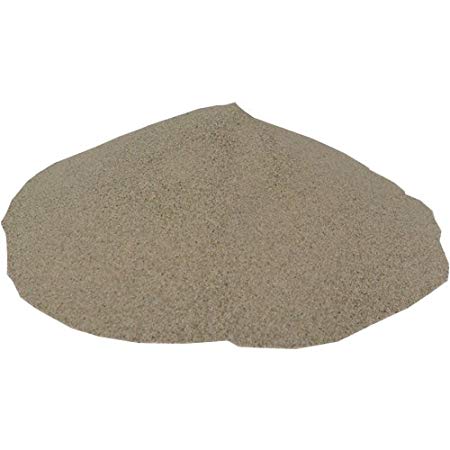
Frequently used materials are dried sand, very fine stones, marble powder, etc. Particle size is up to the customers requirements but most common used is 0.1 – 0.6 mm. In addition to their aesthetic properties, these give the A1 a scratch-resistant and extra-hard top layer. By using sand of different colour and size, a granito or granite appearance can be obtained. In this case, after curing, the top layer can be sanded to bring the stone to the surface to obtain a greater contrast. Sand from the seaside is not suitable as it contains salts.
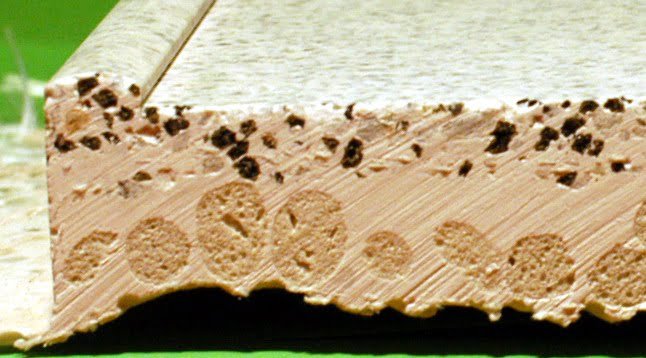
A special filler is expanded glass (Poraver), these are lightweight recycled glass balls. The main advantage is weight saving. For a good adhesion between the grains, it is possible to mix them beforehand with a limited quantity of A1. Poraver is only suited for indoor projects.
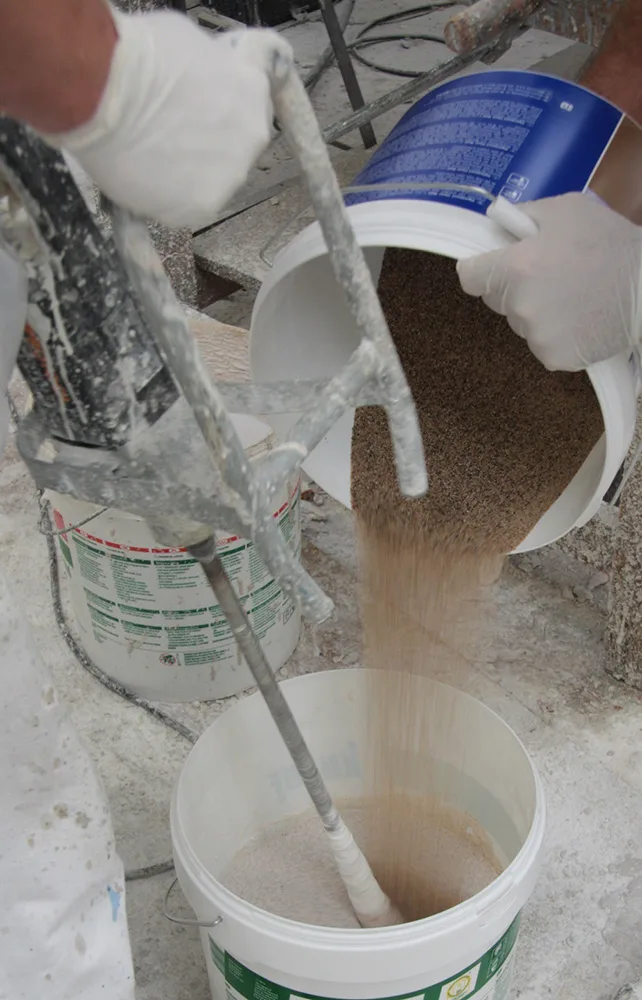
2.0 Adding fillers to the A1.
First mix the A1 Liquid (1 part) with the A1 Powder (2 parts). Then gradually add the filler to the A1 (maximum 2 parts). Add A1 Diluent if desired.
A combination of fillers and/or pigments is also possible.
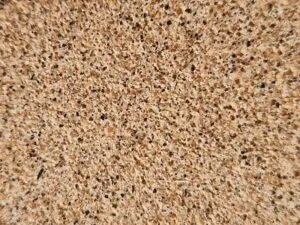
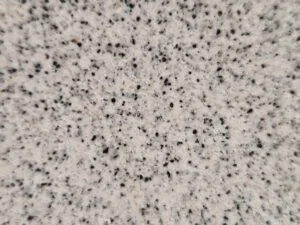
Video: grey sand added to the A1 mixture creates a granite look
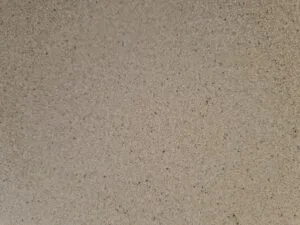
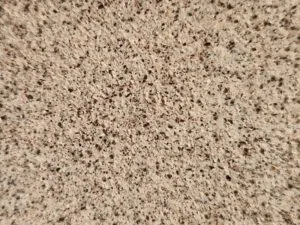
Video: yellow sand added to the A1 mixture creates a sandstone look
Video: yellow sand added to the A1 mixture creates a sandstone look
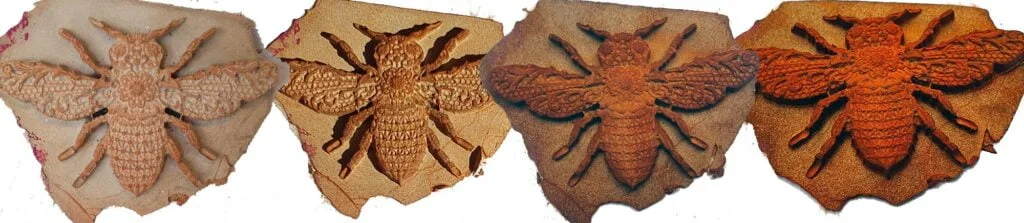
Result of using different sorts of quartz sand into the A1 mixture and after sanding the A1
3.0 How much fillers can I add to the A1 mixture?
As a rule of thumb we suggest a ratio of 1 part A1 Liquid, 2 parts A1 Powder and 2 parts filler (all by weight). This means that we can add a maximum of 0.67 kg fillers per kilogram of A1 created.
5.0 Which fillers can I use to reduce costs?
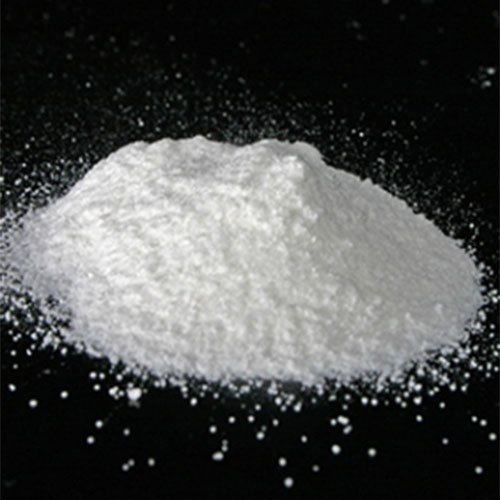
Poraver (expanded glass) can be used as a filler for A1. This is a recycled lightweight glass ball that allows you to achieve a large volume gain. Add the grains little by little to the A1 base.
Another good and inexpensive filler medium for A1 is dried (silver) sand (available in the building materials department in your local DIY shop).
The choice of filler depends on your preference in terms of weight, desired appearance and cost.
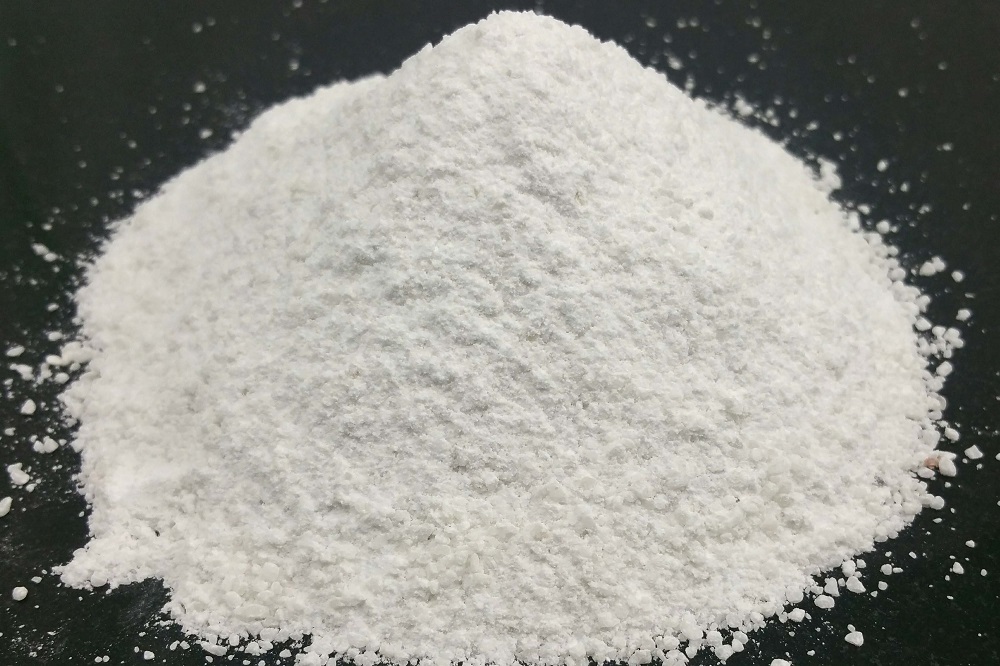
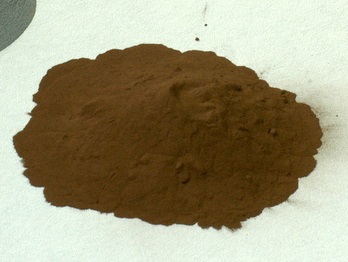
metal powders
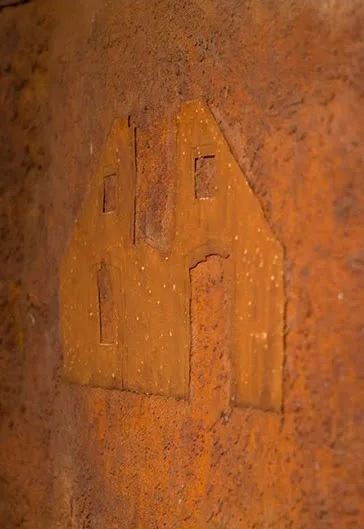
6.0 For metal effects, various metal powders can be added to A1. After mixing the A1, it is possible to add metal powders, such as bronze, iron, copper, zinc or aluminium powder.
7.0 There are many possibilities in patinating and colour appearance.
When using metal powder, the end result will vary. This has to do with oxidation, the chosen patina, the location of the metal particles in the A1 and the sub-colour with which the A1 is pigmented. The oxidation itself is an uncontrollable process and this will give every object a different appearance.
8.0 After curing of A1, which is provided with a metal powder, you can process it in different ways for the desired result depending on the % metal is used:
- Leave iron powder in water for a long or shorter period.
- Sand the A1 lightly so the metal powders come to the surface, these metal particles can be processed with oxidizing
substances. - A1 can be patinated with heat or chemicals.
- It is also possible to pigment the A1 so the undertone is already in the desired colour scheme.
9.0 How much metal powder do I have to add to the first layer of A1 for a good result?
We suggest starting with 1 part A1 Liquid, 2 parts A1 Powder and 1 part metal powder. These are all by weight. Make a small test to see if you get the desired result. Maybe you can use less metal powder as this will be the most expensive element.
10.0 Some tips:
- After the desired result of the metal powders is achieved A1 Sealer PLUS can be applied for protection so the weather influences slow down the oxidation process.
- If you work with a silicone mould, you can stimulate the oxidation process by extending the discharge time by a number of hours or days.