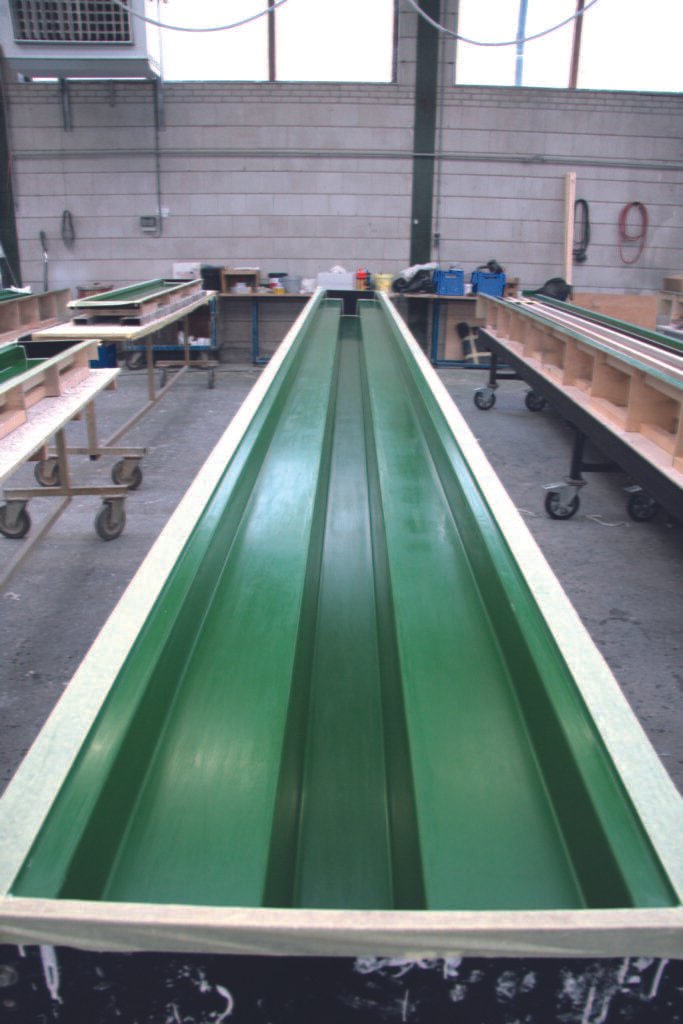
Moulds
1.0 A1 is excellent to process in a mould resulting in obtaining exact copies of the original. It is possible to use a mould of different materials such as: silicone rubber, concrete forming plywood, PU, polyester, etc.
It is important that no adhesion can take place between the mould and the A1. Silicone rubbers are excellently suited for this purpose and therefore we also recommend working with moulds made of silicone rubber.
A silicone mould has a number of other advantages, such as:
- Flexibility of the mould is very useful when demoulding the A1 object.
- Because A1 does not shrink but has a small expansion during the reaction process between the A1 Liquid and the A1 Powder, an exact (detailed) impression of the silicone mould is created.
- A1 does not affect the silicone. This makes it possible to create an infinite number of A1 prints.
A silicone mould may be less suitable for dimensionally stable products. In addition, poor quality silicones (often cheap) with a high fat content can give off, which is sometimes visible on the A1 object.
Moulds made of sheet material such as epoxy plywood forms or polyester moulds work well in practice if provided with a suitable release agent. During hardening, A1 expands slightly. This can cause A1 to get stuck in the mould, especially when it is not self-discharging.
Moulds made of gypsum or other porous materials are not recommended unless they have a fully sealing coating or washing system that prevents moisture from the A1 from penetrating into the mould. There is a risk of a (strong) bond between the mould and the A1 and a weakening of the A1 object.
When using a release agent, (limited) release agent may remain on the A1 object after release. Often these release agents are based on fat/oil. This can affect the adhesion of even finishing coats such as A1 Sealer PLUS, paint system or an extra layer A1.
Therefore, we advise to limit the use of release agents as much as possible or to work with mould materials that do not bond with A1.
2.0 Wax system.
We recommend to use a high temperature wax system as a release agent for your moulds as we have discovered that these give the best results. Silicone moulds normally do not need a release agent.
laminating in a mould
The use of a mould in combination with A1 Triaxial fibre gives the possibility to make strong and lightweight A1 objects.
3.0 A1 top layer.
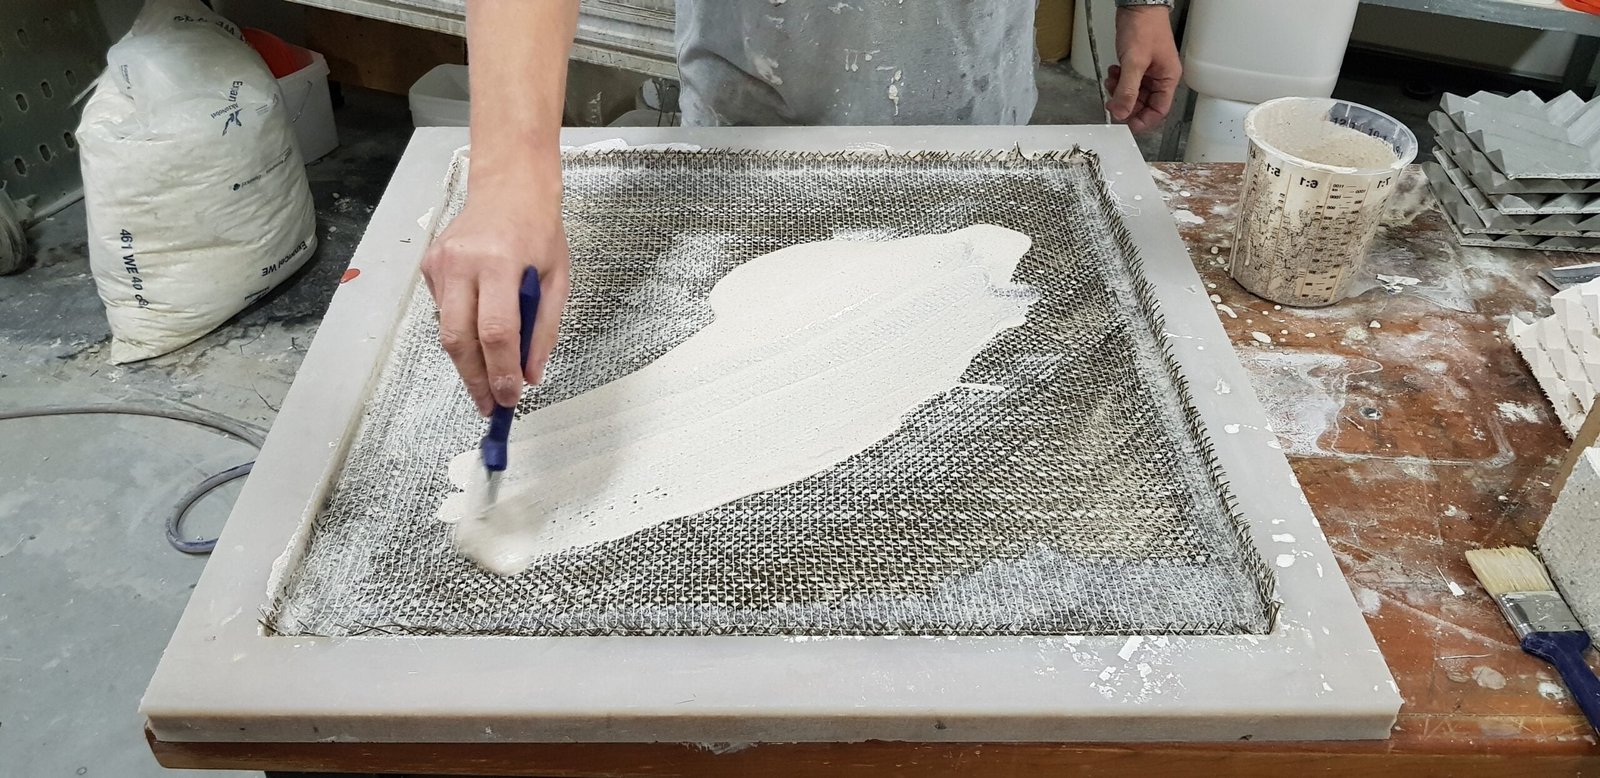
When we start lamination we first apply a 1st layer A1, possibly thickened with Thix A, often with pigment, sand, metal powder and/or other materials to achieve the desired appearance. Before we start laminating it is important to let this layer dry (maximum 1 hour), to prevent the A1 Triaxial fibre from pressing through.
After applying the top or 1st layer in a mould, the time has come to continue applying the next (glass fabric reinforced) layers A1, when the top layer is already drying but still feels slightly moist. This moment is immediately after the set time of A1 has expired and is also dependent on ambient temperature, humidity and the use of A1 additives. This way you get a good adhesion between the different layers.
Cut the A1 Triaxial fibre to size in advance and create a new quantity of A1. You now apply the un-thickened A1 to the A1 top layer. Now you can laminate the A1 Triaxial fibre in it. Brush from inside to outside to prevent any folds. No intermediate drying time is required to apply multiple layers of A1 Triaxial fibre.
If the underlying A1 layer is cured, a thin layer of A1 must be re-applied before the new A1 layer can be laminated with Triaxial fibre (wet in wet work).
Releasing the mould is often possible after 1 hour. For vulnerable objects, this period may be longer.
4.0 Temperature and humidity.
Temperature and humidity affect set time and curing of A1. For larger objects A1 Retarder can be used to extend the set time so that there is more time to work on the A1 object quietly. Provided the processing temperature is not too high and the air humidity is not too low, this is a good way of working.
The use of A1 Retarder for the application of the top layer (gelcoat layer) and in particular when working in moulds, we advise against it in hot weather (above 25°C – 30°C), in combination with low humidity. In hot and dry weather, a dry layer will quickly form on the surface, even before the curing process begins. The curing process seems to begin but the underlay is still soft. The risk of craquelure formation in the top layer and poor curing is therefore high. In addition, the adhesion to other A1 layers will be weaker. If possible, try to avoid working in conditions above 25°C. An alternative is to add A1 Accelerator which will shorten the set time of A1.
5.0 Laminating vertical parts
When applying A1 to vertical parts it might be useful to thicken the A1 a little with our A1 Thix A. This will increase the viscosity of the A1 and make it easier to apply a thicker layer of A1 on the vertical parts of the mould.
When applying A1 in combination with our glass fabric you do not need to thicken the A1 as the glass fabric will help.

different materials can be used for mould making
6.0 We recommend to use moulds made of silicone.
The advantages are that no release agent is necessary as A1 and silicone do not stick to each other. Also because of the flexibility of silicone releasing the A1 object from the silicone mould it is even possible in situations where the shape of the form is more complex.
A1 does not affect the silicone which makes the production of many A1 objects from a single mould possible.
7.0 Shaping (EPS) foam
is very easy and as such an excellent material to use as mould. Of course you can use the EPS as a positive mould and apply the A1 directly over the shapped EPS.
However when using the EPS as a (negative) mould you need to apply a first layer of A1 over the EPS to cover all holes in the EPS. Next we recommend to use a coating/paint system over the A1 folled by a release agent. Now the EPS mould is ready to be used.
This methods works best for one offs.
8.0 Plywood
is very effective when smooth and rectangular forms are required. An additional advantages is the low cost of plywood compared to other materials.
The use of a release agent is neccesary to avoid sticking the A1 to the plywood.
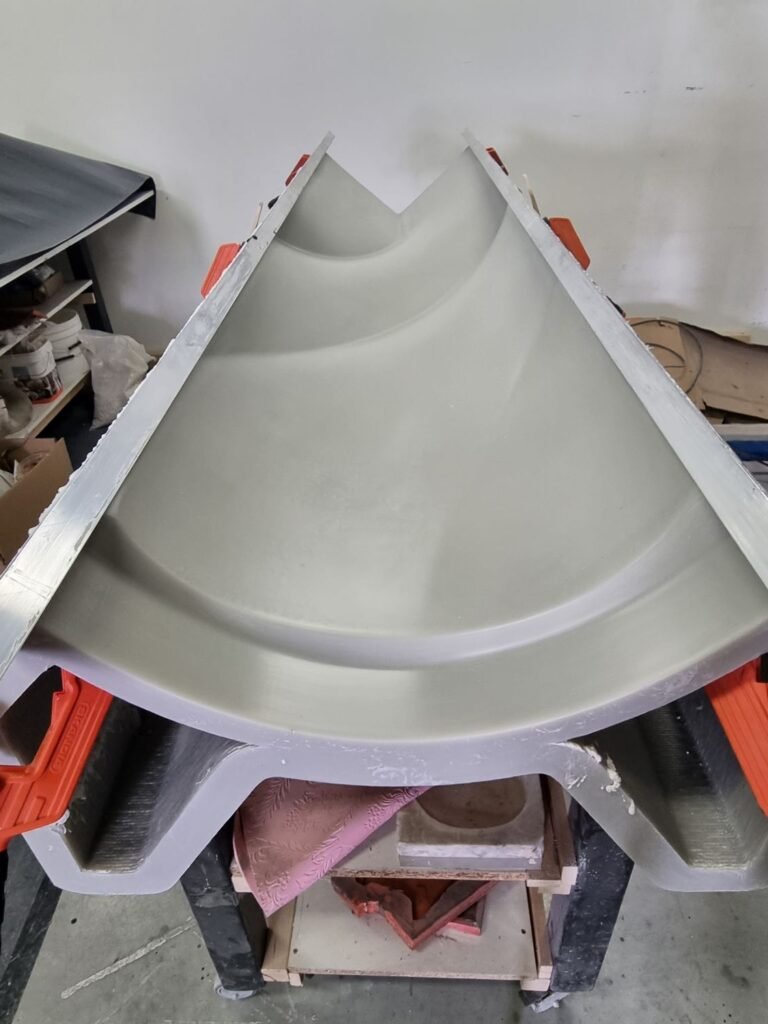
9.0 A CNC milled mould,
often made of a composite paste is used for objects that need exact dimensions and often complex shapes.
An advantages of CNC milled moulds is that the whole development process can be done on computers.
10.0 Polyester moulds
are often used by companies that already have experience in the composite industry. They are very effective because of the form stability.
When producing fiberglass parts in fiberglass moulds there is a little shrinkage of the fiberglass which makes demoulding more easy.
When using A1 in fiberglass moulds there needs to be an easy demoulding because the A1 will expand a little bit while curing.
So, there is a risk of setting the product tight into the mould.
Our advice is always to use a 2 or 3 piece mould, depending on the design, to have a more easy release. In our design guide on page 20 you will see an example. Both ends of the mould can be removed.
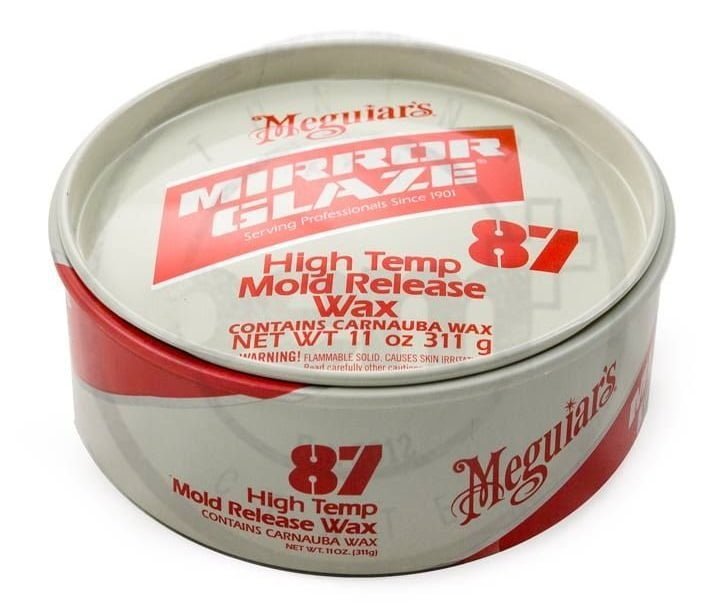
Best release agent to use is a hard wax, preferably high temp, that are common in the FRP industry, like Honey Plus Wax, TR104 or Mirror Glaze 87.
The wax must be applied 2 or 3 times when starting with a new mould. Wipe in and wipe off. Then it is advised to apply after every demoulding a new wax layer.
When it is applied in the right way it won’t leave marks on the A1 product but before overpainting or applying a sealer it is better to degrease the surface by using Scotch Brite or Ammonia solution with water. Never use a solvent like Thinner or Acetone.
After a few demouldings you will see that the mould becomes matt (with glossy moulds) and there might be some wax accumulation. If the wax accumulation is too much, the mould needs to be cleaned and wax again applied.
Hopefully it is clear for you, if you have further questions please let me know.
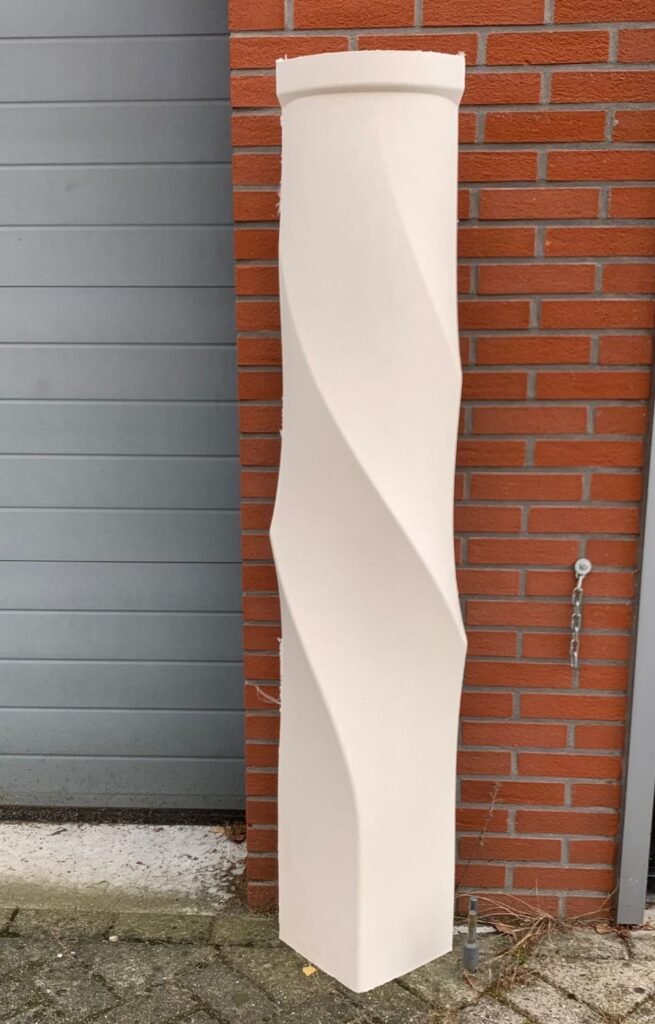
11.0 3D printed moulds
are the latest development in mould making. After the 3D printing is finished the mould is CNC milled and sanded to give the desired smooth finish. The moulds is now ready for production.
This gives the developer the freedom to use sophisticated software to develop the object needed.
After all A1 objects have been made with the use of the 3D printed mould the mould material can be shredded and re-used for a new mould.
12.0 Light spots / colour differences after releasing from a mould.
Due to water evaporation some light spots, colour difference or ‘water marks’ can appear in your product. We suggest to demould within a few hours after finishing casting or laminating the A1 object. Try to avoid leaving the A1 object into the mould overnight.
13.0 Can A1 be applied on (wet) clay?
A1 can be applied on (wet) clay however expect that the A1 and the (wet) clay will interact with each other. This will result in a bondage between the clay and the A1. After the A1 has cured you can wash the clay away with water.
Also expect that the A1 object will have (lots of) color spots.
14.0 When freeing the sculpture from a plaster mould, I had to break the mould.
A1 has a very strong adhesion to many materials and with plaster in particular. That’s why we strongly advise not to use plaster/gypsum like materials as the risk of bonding together is high.
From our customers we learned that a product called shellac/shellak might be effective to avoid adhesion between the A1 and the plaster mould. Please test before you use this possible solution for your object.
15.0 How do you connect different parts of A1 from a multi-part mould together?
In general you can use A1 as a glue to connect the different parts together. With the use of ATP Powder you can thicken the A1 to close any space between the different parts. If it needs to be a very strong connection we advise to use A1 in combination with our glass fabric.
How to prepare your mould to create (almost) invisible joints lies beyond the scope of this website as it is the craft of the mould maker.